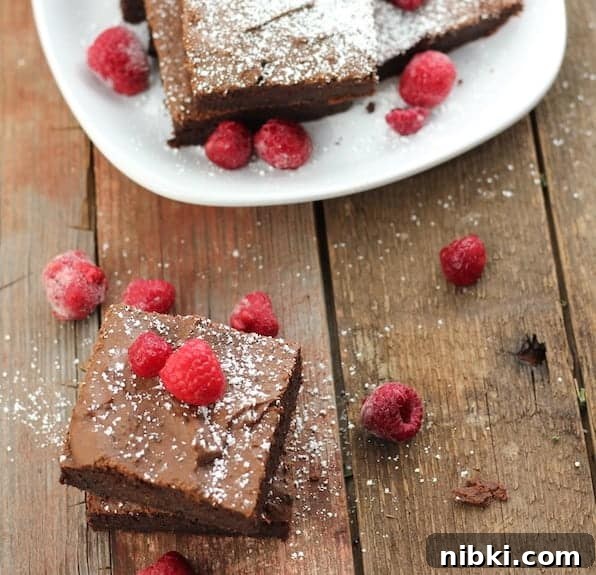
Paleo Black Bean Brownies
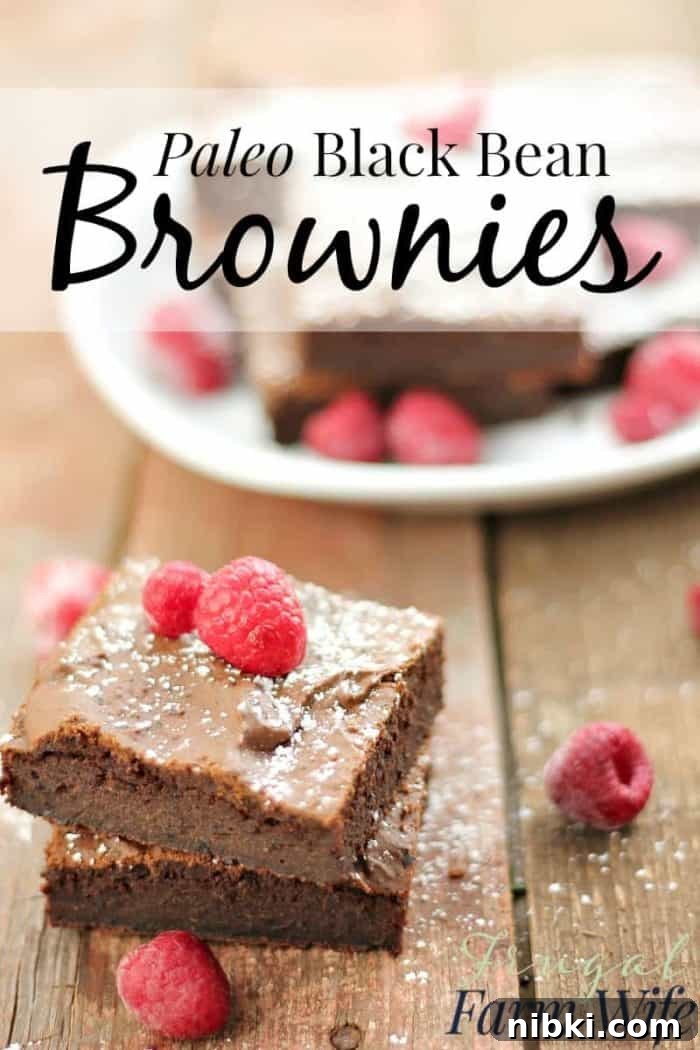
At first mention, “black bean brownies” can sound odd, and many people wrinkle their noses when they hear it. But these brownies are worth a second thought. They deliver rich chocolate flavor and fudgy texture while using cooked black beans as the base instead of flour—an excellent option for anyone avoiding grains or looking for a rice-free dessert.
Using cooked beans is similar in principle to bean flour, but because the beans are already hydrated you don’t need to add extra liquid like you would when working from dry flour. If you keep cooked beans in the freezer—as I do for quick lunches like burritos—these brownies are surprisingly easy to pull together on a whim. I first discovered the idea on a budget-friendly blog and adjusted the proportions to use what I normally have on hand.
About this recipe
These are paleo-friendly and can be adapted to be gluten-free. The texture is fudgy rather than cakey, and the healthy-sounding ingredient list makes it easier to justify having a square or two. If you normally eat a rice-heavy diet, this is a welcome, rice-free baked treat.
Black Bean Brownies — Recipe Card
Don’t let the name fool you—these brownies are pleasantly rich and chocolatey.
Author: Elise
Ingredients
- 2 cups cooked, drained black beans
- 2 eggs
- 1/3 cup melted butter or coconut oil
- 1/4 cup unsweetened cocoa powder
- 1/8 teaspoon salt
- 2 teaspoons vanilla extract
- 1/2 cup maple syrup or honey
- 2 tablespoons arrowroot powder (or a similar starch)
Instructions
- Preheat the oven to 350°F (175°C). Lightly butter an 8×8-inch glass or metal baking dish.
- In a blender or food processor, combine the cooked black beans, eggs, melted butter (or coconut oil), cocoa powder, salt, vanilla, maple syrup (or honey), and arrowroot powder. Puree until the mixture is completely smooth and no bean pieces remain.
- Pour the batter into the prepared baking dish and spread it evenly.
- Bake for about 30 minutes, or until the center is set and a toothpick inserted near the middle comes out with moist crumbs but not wet batter.
- Allow the brownies to cool in the pan before cutting so they finish setting.
Notes & tips
- Cooking note: Dry beans typically triple in volume when cooked, so roughly 2/3 cup of dry black beans should yield about 2 cups cooked.
- Optional add-ins: The original version sometimes calls for chocolate chips and chopped walnuts. They are delicious if you want them, but I often omit them to keep costs down.
- Texture: If the batter seems too thick for your blender, add a tablespoon or two of water or milk (dairy or non-dairy) and blend again until smooth.
- Sweetness: Taste the batter before baking (it’s safe if all ingredients are blended) and adjust maple syrup or honey to your preferred sweetness.
- Storage: Store cooled brownies in an airtight container in the refrigerator for up to 5 days, or freeze individual squares for longer storage.
Variations and serving suggestions
For a nuttier version, stir in chopped toasted walnuts or pecans. For extra decadence, fold in a handful of dark chocolate chips. Serve warm with a scoop of vanilla ice cream or a dollop of whipped coconut cream for a dairy-free option. These brownies also pair nicely with fresh berries to balance the richness.
Why this works
Black beans add moisture and structure, replacing traditional flour while contributing fiber and plant-based protein. The arrowroot acts as a binder that gives the brownies body without gluten. Combined with eggs and a fat such as butter or coconut oil, the result is a dense, fudgy brownie that delivers familiar chocolate flavor without grains.