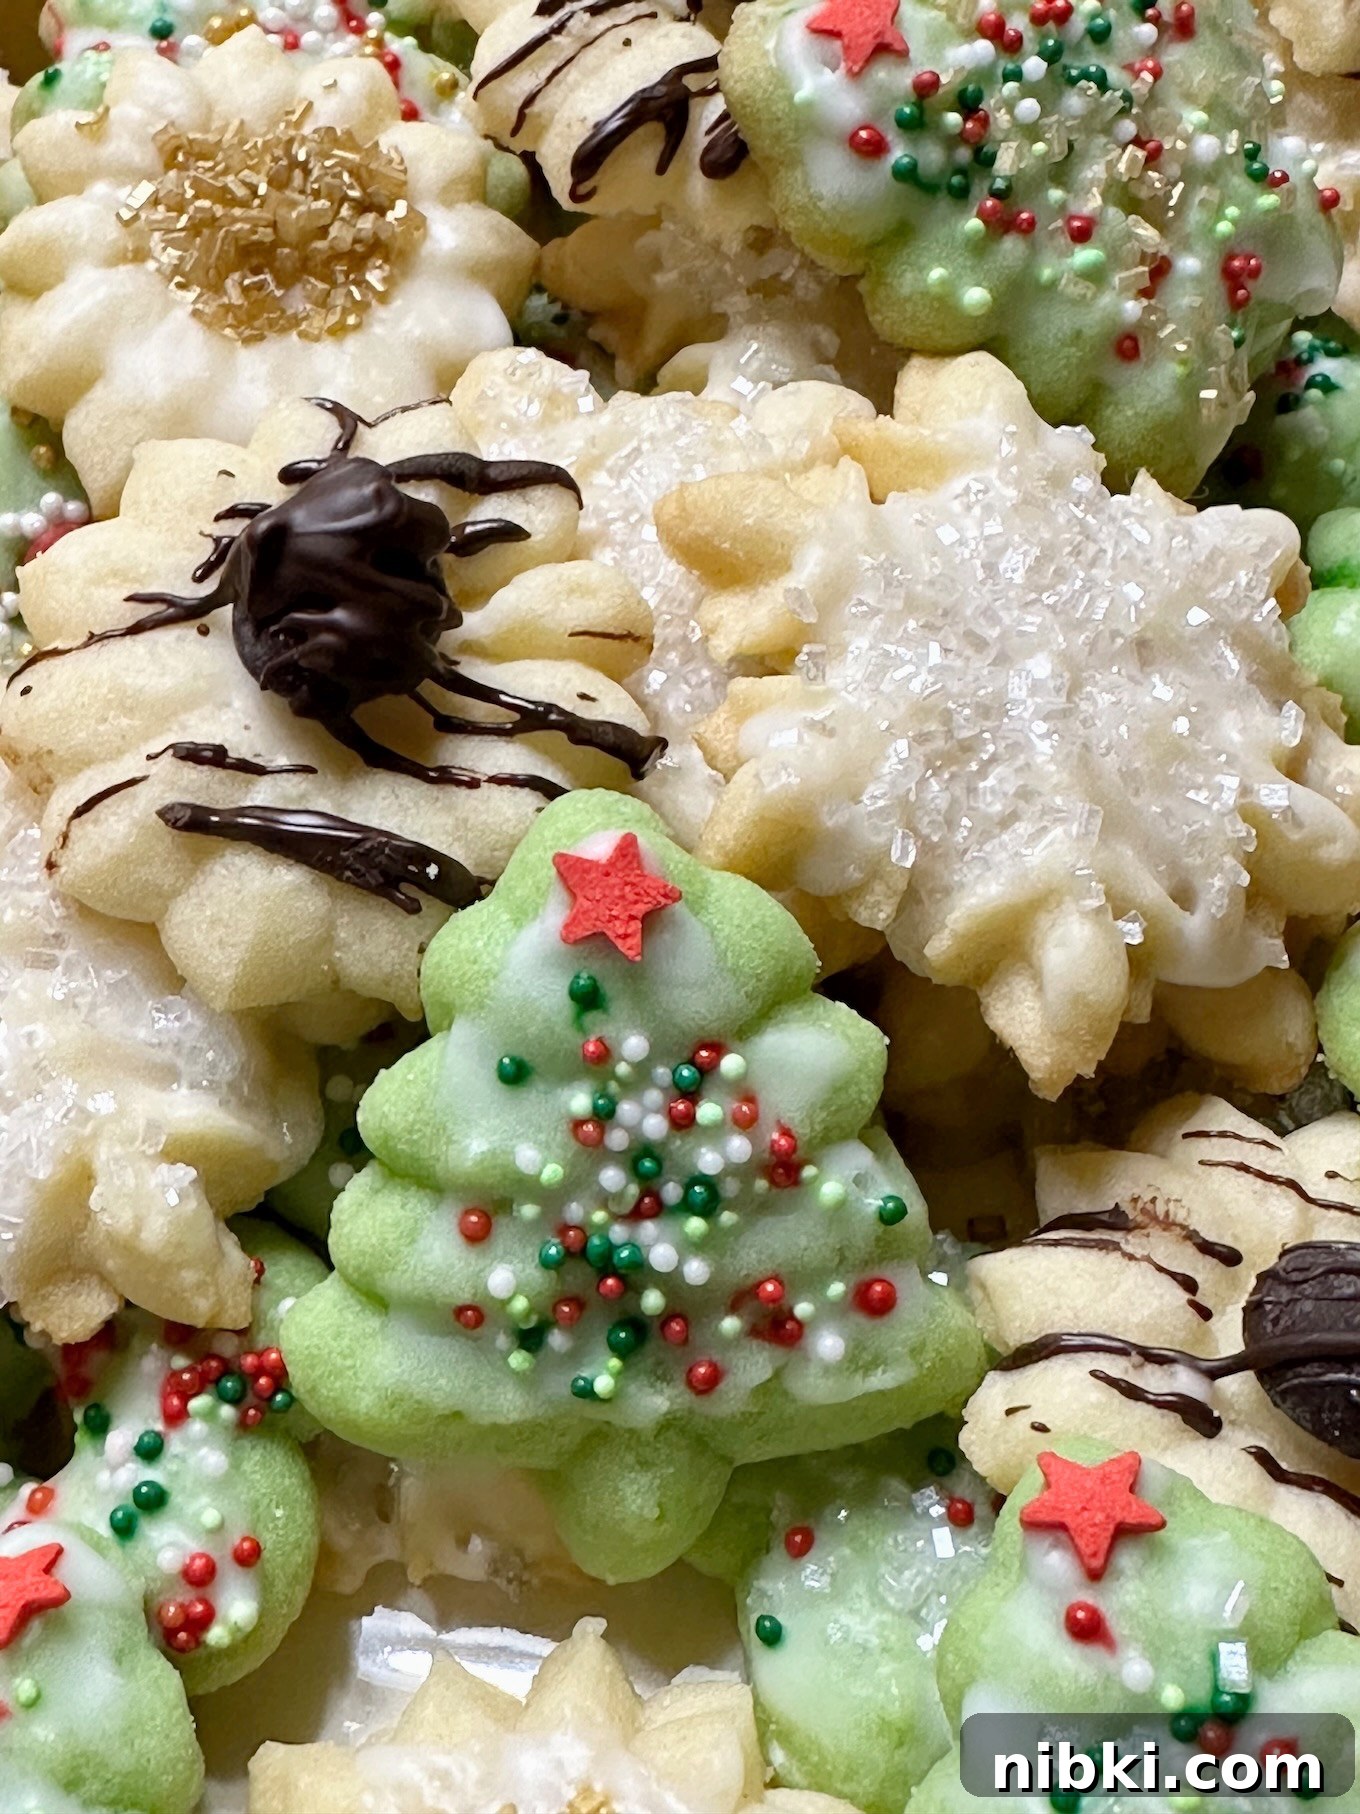
Spritz Cookies are the classic holiday cookie—delicate, buttery, and ideal for creating festive shapes with a cookie press. These bite-sized cookies are quick to make, easy to decorate with sprinkles or glaze, and perfect for gifting or enjoying with a glass of milk.
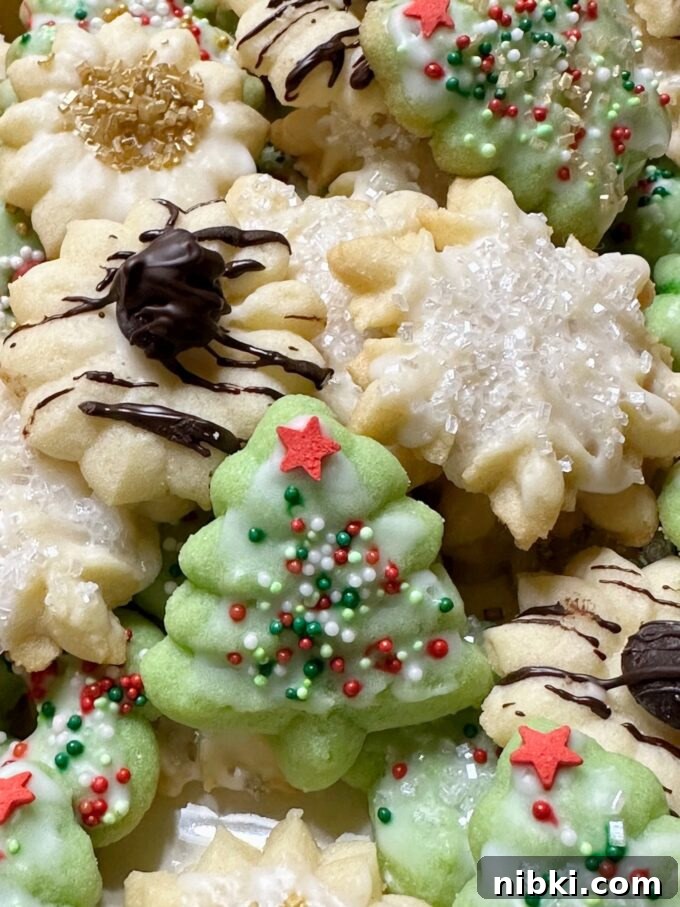
Although small, spritz cookies pack a lot of flavor. The dough produces tender, buttery cookies with a delicate crisp at the edges. Because the recipe requires minimal chilling and a straightforward method, it’s an excellent choice for holiday baking sessions or cookie exchanges.
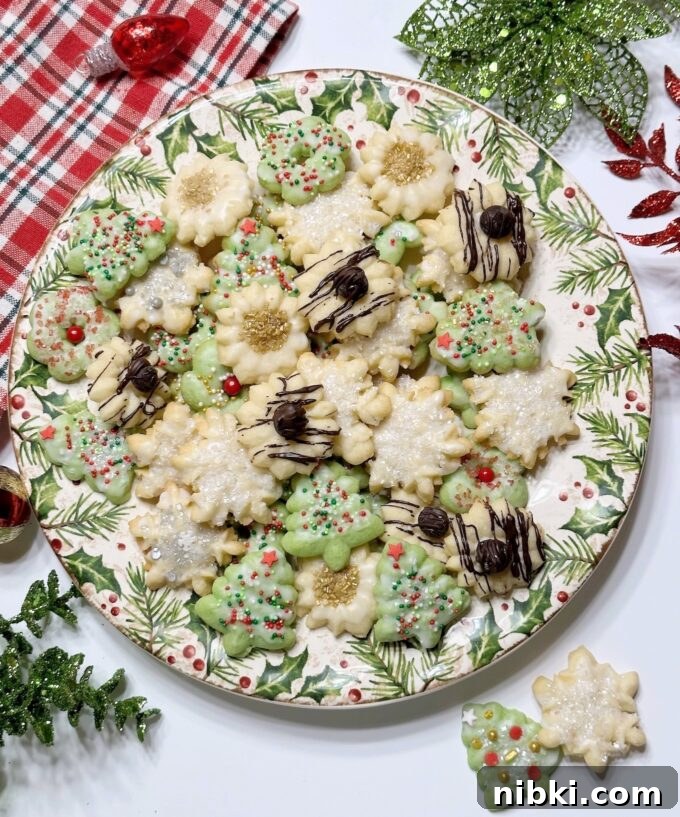
This dough is forgiving and comes together quickly, so you can move straight from mixing to pressing and baking. Decorating is optional but highly recommended—use a simple vanilla glaze, sprinkles, or a drizzle of chocolate to add color and flavor.
How did Spritz Cookies get their name?
The name comes from the German word Spritzgebäck, derived from the verb spritzen, which means to squirt or press out. In English the name was shortened to Spritz, referring to the way the dough is pressed through patterned discs to form shapes.
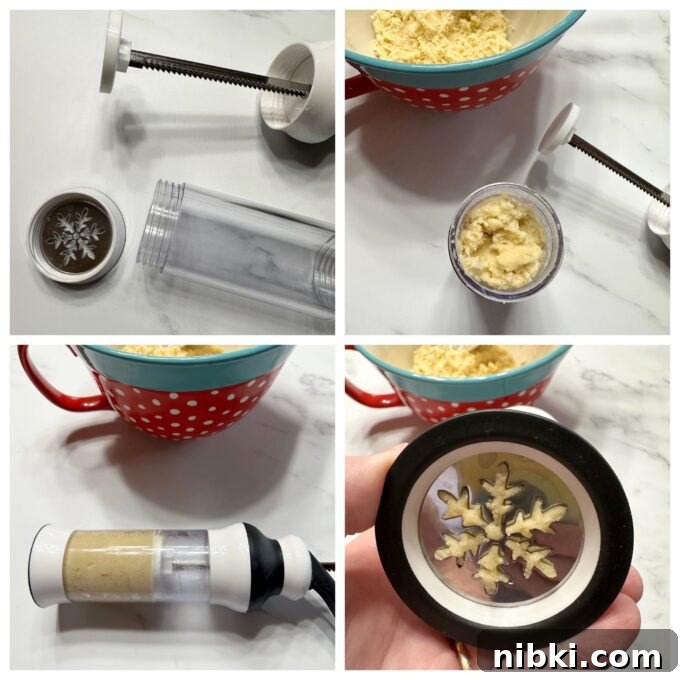
How to use a cookie press
If you’ve never used a cookie press, it’s simpler than it looks. A typical press holds a cylinder of dough and comes with multiple metal or plastic discs for different shapes. Once loaded, you press the lever or plunger to push dough through the disc and form consistent shapes right on the baking sheet.
Assembling and filling the cookie press
Most cookie presses work the same way:
- Remove the bottom ring, select a disc, place it in the bottom, and screw the ring back on.
- Pull the plunger up while pressing the release button (if your model has one) to prepare the chamber.
- Unscrew the top, spoon the dough into the cylinder (no more than three-quarters full), and reattach the top ring.
- Prime the press by pumping the lever until the dough flows evenly through the disc.
Pressing the cookies
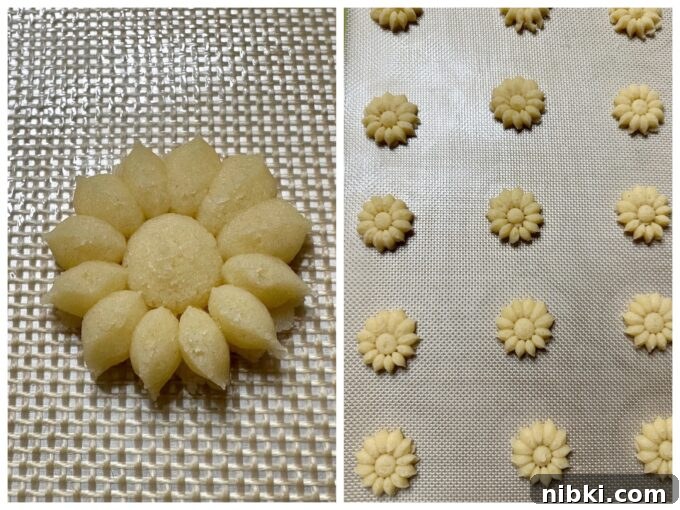
- Hold the press upright and place the disc flush with the cookie sheet.
- Use one hand to steady the press and the other to squeeze the lever until it clicks, then lift straight up to release the cookie.
Can I make these cookies without a cookie press?
Yes. Fit a pastry bag with a 1/2-inch open star tip and pipe shapes onto the baking sheet. If the dough is too stiff to pipe, add 1 teaspoon of milk at a time until it reaches a pipable consistency.
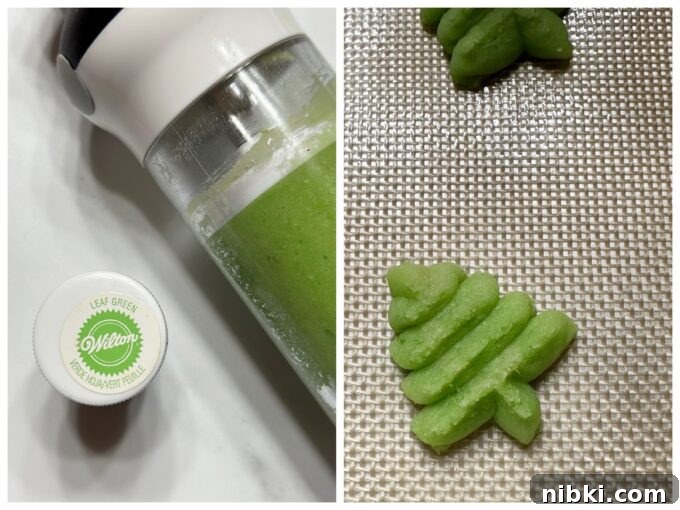
Adding food coloring to the dough
Gel food coloring works best because it blends smoothly without thinning the dough. Start with a small amount, mix thoroughly, and add more in tiny increments until you reach the desired shade. A toothpick can help add color from jars without overdoing it.
Pro tips for successful Spritz cookies
- Do not use parchment paper when pressing cookies; parchment can lift with the cookie press. Use a plain cookie sheet or a silicone baking mat instead.
- Work on a flat, stable surface so each pressed cookie adheres to the sheet evenly. An uneven surface can cause inconsistent releases.
- If dough sticks to the press or won’t release cleanly, chill the filled press for 10 minutes and try again.
- Add sprinkles after baking rather than before; sugar sprinkles can melt during baking and lose their shape and color.
- After baking, brush cookies lightly with corn syrup before adding sprinkles to help them adhere if you’re not using the glaze.
- Watch the oven closely. Remove cookies as soon as the edges show the slightest hint of color—the tops should remain pale for the best texture.
Can I prep or freeze the dough?
Yes. Prepare the dough up to three days ahead and refrigerate it. Bring it to room temperature before filling the press. For longer storage, freeze the dough for up to three months. Thaw overnight in the refrigerator and bring to room temperature before using.
Decorating Spritz cookies
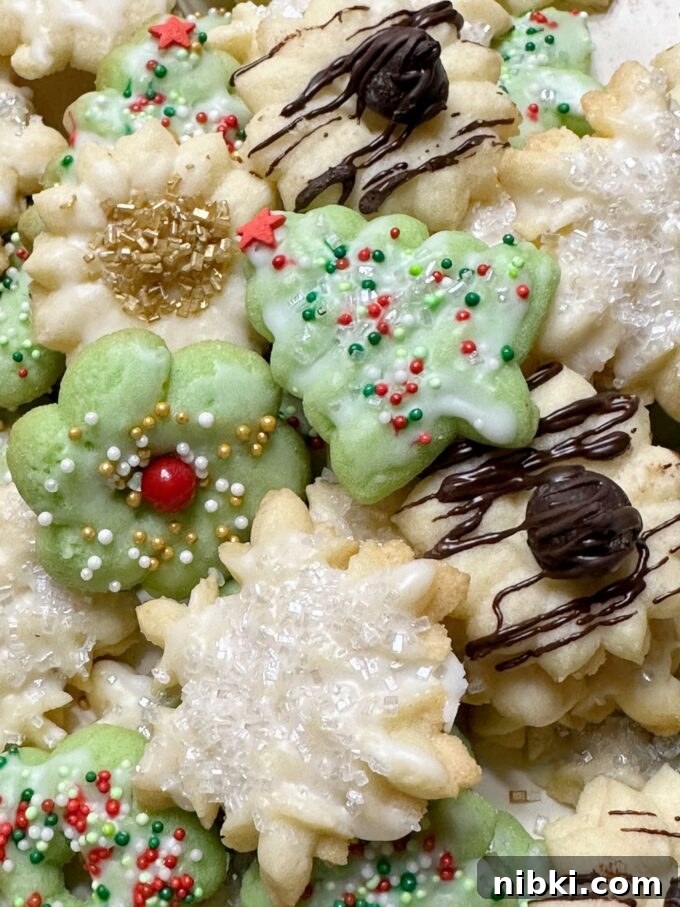
A simple vanilla glaze and a sprinkle of candy decorations make these cookies festive. Mix sifted powdered sugar with a little vanilla and milk to a brushable consistency. For intricate shapes, use a small pastry brush to get into details. After glazing, add sprinkles or a chocolate drizzle. If you place a chocolate chip on a cookie, brush a tiny amount of glaze on the chip’s underside so it sticks.
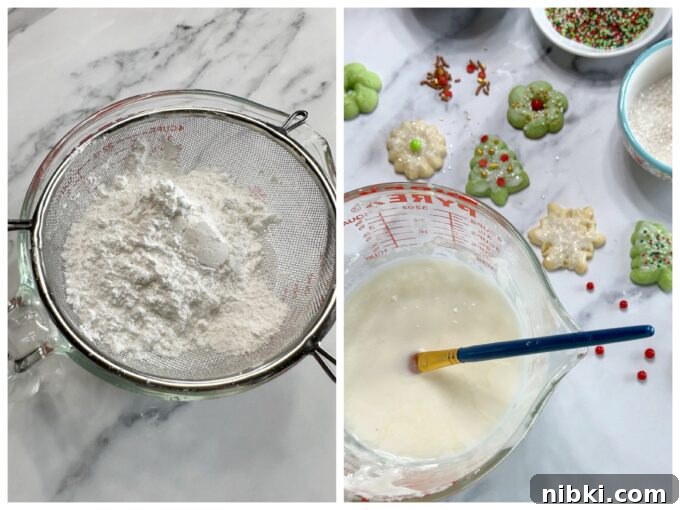
Once glazed and decorated, the topping will set within a few minutes. Store finished cookies in an airtight container for up to one week.
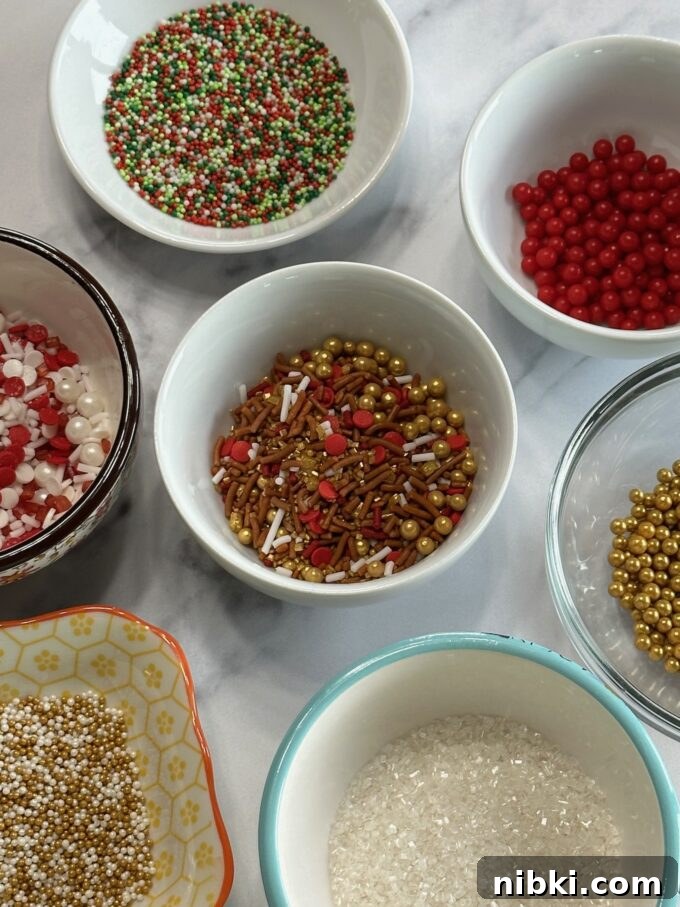
More cookie ideas you might enjoy: Christmas Butter Cookies, Peppermint Butter Cookies, Pecan Dreams, Hidden Kiss Cookies, Danish Butter Cookies.
If you try this recipe, please leave a rating and comment—feedback is always welcome.
Spritz Cookies
- Author: Cindy @mycountrytable
- Prep Time: 45 minutes
- Cook Time: 9 minutes
- Total Time: 54 minutes
- Yield: 60 mini cookies
- Category: Cookies
- Method: Bake
- Cuisine: German
Description
These spritz cookies are crisp at the edges, tender inside, and easy to shape with a cookie press or pastry bag. They’re small, versatile, and ideal for decorating in seasonal colors and patterns.
Ingredients
Cookies
- 2 1/4 cups all-purpose flour, spooned and leveled
- 1/2 teaspoon salt
- 1/4 teaspoon baking powder
- 1 cup (2 sticks) unsalted butter, room temperature
- 3/4 cup granulated sugar
- 1 large egg, room temperature
- 1 1/2 teaspoons pure vanilla extract
- 1/4 teaspoon almond extract
- Optional: candy sprinkles or other edible decorations
Vanilla Glaze
- 1/2 cup sifted powdered sugar
- 1/4 teaspoon pure vanilla extract
- 1 tablespoon milk
Instructions
Cookies
- Preheat the oven to 350°F (175°C).
- In a medium bowl whisk together the flour, salt, and baking powder; set aside.
- In a large bowl, beat the butter on medium-high until light and creamy, about 30 seconds. Add the sugar and beat until smooth and no longer gritty, about 1 minute. Add the egg, vanilla, and almond extract; mix to combine and scrape the bowl down once.
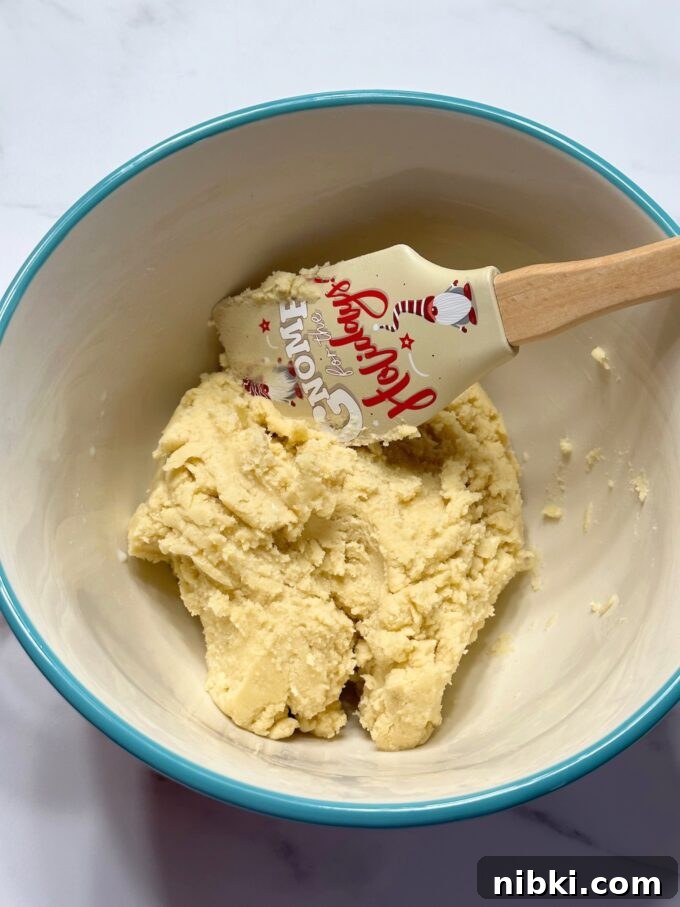
- With the mixer on low, add the dry ingredients and mix until incorporated. Do not overmix.
- Fill the cookie press with dough, removing air pockets. Hold the press perpendicular to the cookie sheet and press cookies roughly 1/2 inch apart. If the dough softens too much and sticks, refrigerate the filled press for about 10 minutes before continuing.
- Bake 8–9 minutes, until the edges just begin to show color. Transfer cookies to a wire rack to cool.
Vanilla Glaze and Decorating
- Whisk together powdered sugar, vanilla, and milk until smooth. Use a tiny brush or offset spatula to apply a thin layer of glaze to each cooled cookie.
- Immediately add sprinkles or other decorations before the glaze sets.
- If adding chocolate accents or a chocolate chip in the center, brush a small amount of glaze on the chocolate to help it adhere.
- Allow the glaze to set (about 5 minutes). Store cookies in an airtight container for up to one week.
Notes
- See the tips above for guidance on using a cookie press and coloring dough.