Colour Flow Technique and Piping Roses — Lesson Recap
This week’s lesson focused on the colour flow technique and piping roses. We began with clear demonstrations from the instructor, then moved on to hands-on practice. The session covered how to prepare and use thinned icing to create defined shapes, and also how to form roses with a piping bag and petal tip.
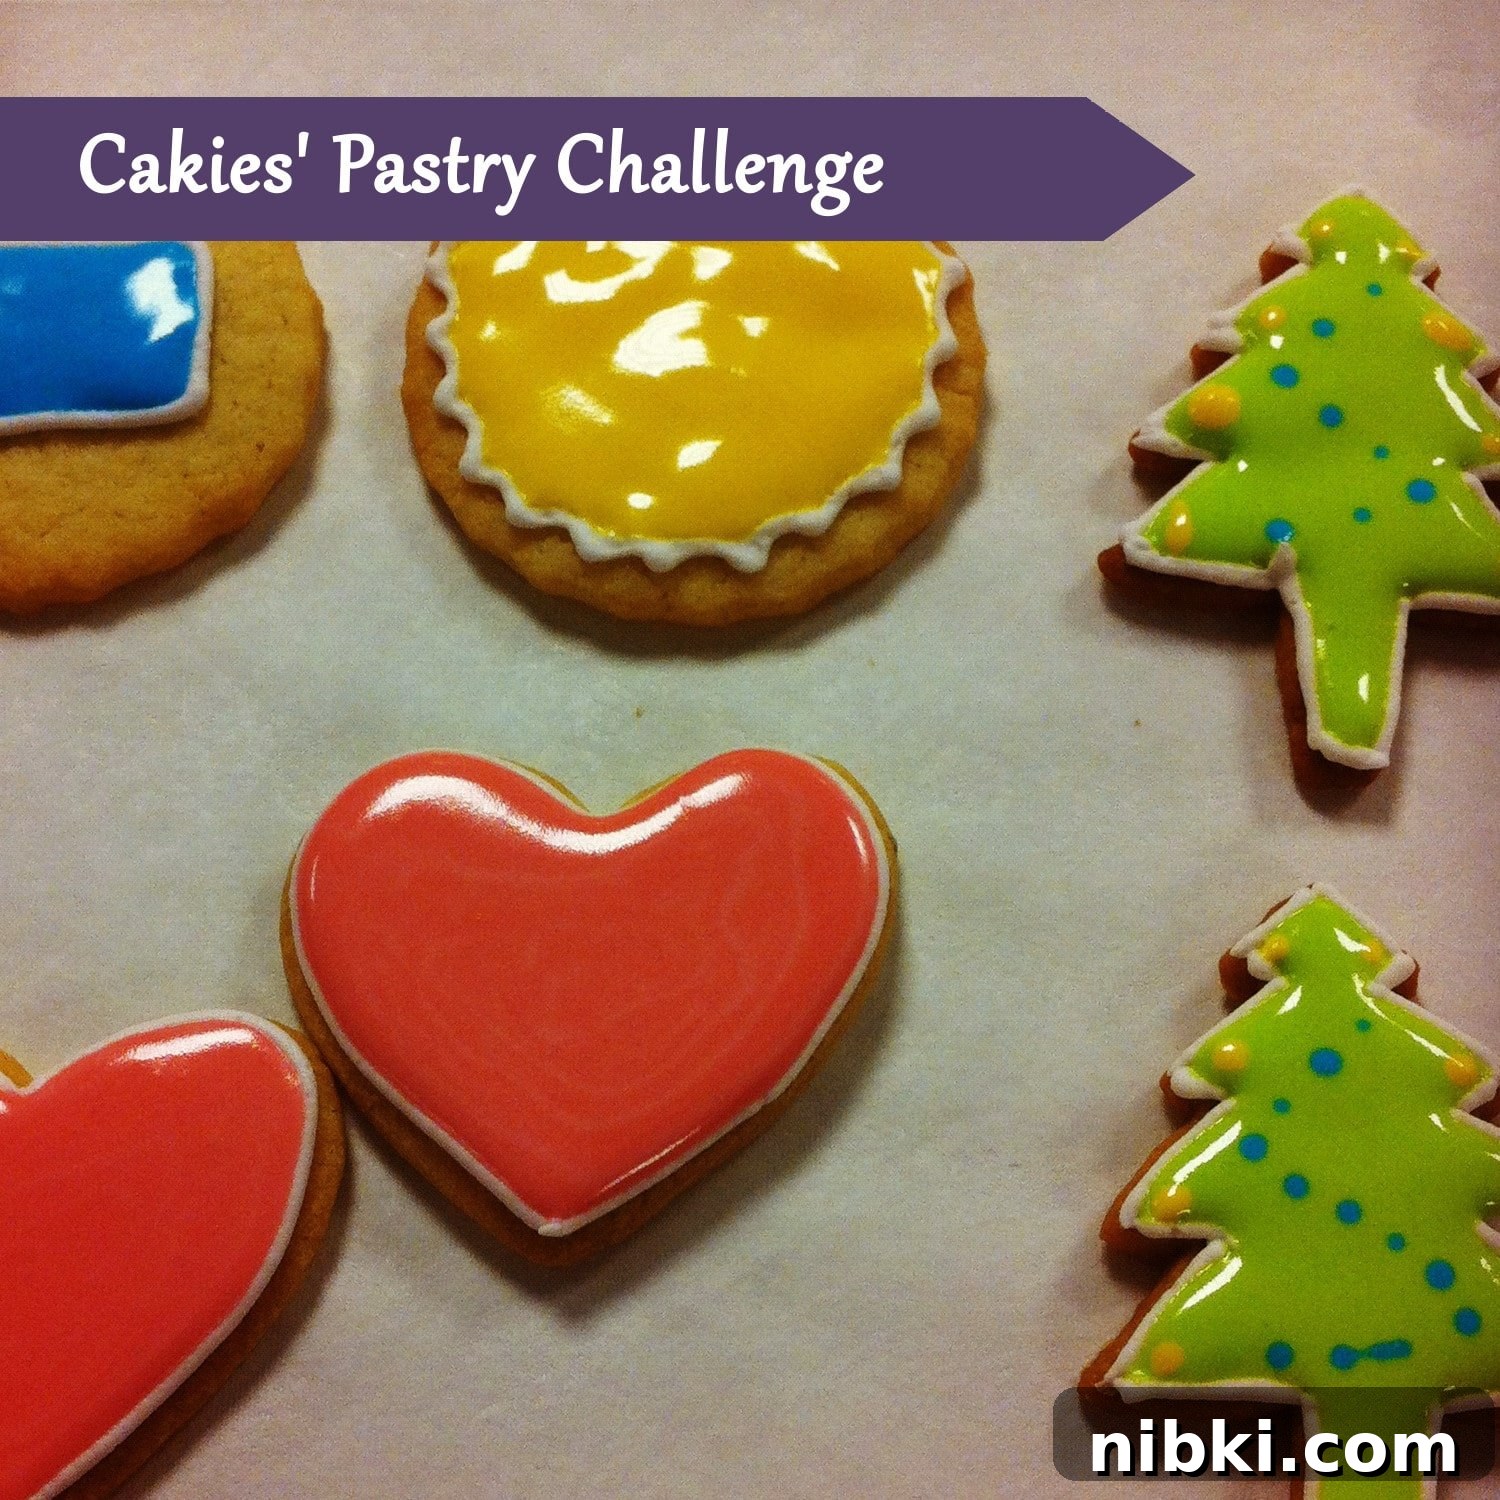
In simple terms, colour flow (also known as flood icing) uses two consistencies of royal icing: a thicker icing to outline and hold the shape, and a thinner, runnier icing to fill or “flood” the outlined area. The thicker outline creates a barrier so the thin icing settles evenly inside. After flooding, the cookie or surface needs time to dry completely so the design sets smooth and glossy.
I had experimented with colour flow at home before, but this lesson clarified the best approach and common pitfalls. Practicing under supervision helped me refine the consistency of the flood icing and improve my timing for outlining and filling. Small adjustments to icing thickness and a steady hand make a big difference in the final result.
For my personal project I had printed designs for playing cards and domino tiles, but we were unexpectedly asked to avoid using black and red food colouring during the class. I hadn’t planned for that limitation, so I switched to a backup sketch I’d brought along and made a little monkey design instead. The monkey came out sweeter than I expected and was a fun exercise in layering colours and controlling the flow inside tiny outlines.
We also practised colour flow on cookies. Flooded cookies are particularly attractive because the smooth sugar surface highlights small decorations and delicate lines. These decorated cookies are often popular with children thanks to their bright colours and glossy finish, and they’re a good way to practice even flooding and consistent icing thickness.
The other major focus of the lesson was piping roses. This is a classic piping technique that requires patience and control: you work on a flower nail or a reverse surface, start from the center bud, and build overlapping petals with a consistent turning motion. I found piping roses challenging; my first attempts were more like abstract forms than neat blooms. That said, producing a few recognisable rose-like shapes was encouraging, and the instructor offered constructive tips on wrist position, pressure control, and the best speed for turning the nail.
Key takeaways from the class include the importance of icing consistency, the benefit of practicing with simple shapes before attempting complex designs, and the value of small, repeated exercises to build muscle memory for piping. Colour flow and rose piping are both skills that improve quickly with focused practice.
Overall, it was a rewarding and slightly demanding session. I enjoyed learning the proper steps for flood icing and gained a clearer sense of how to approach piping roses. I’m looking forward to extra practice and to the next class where I can refine these decorating techniques.