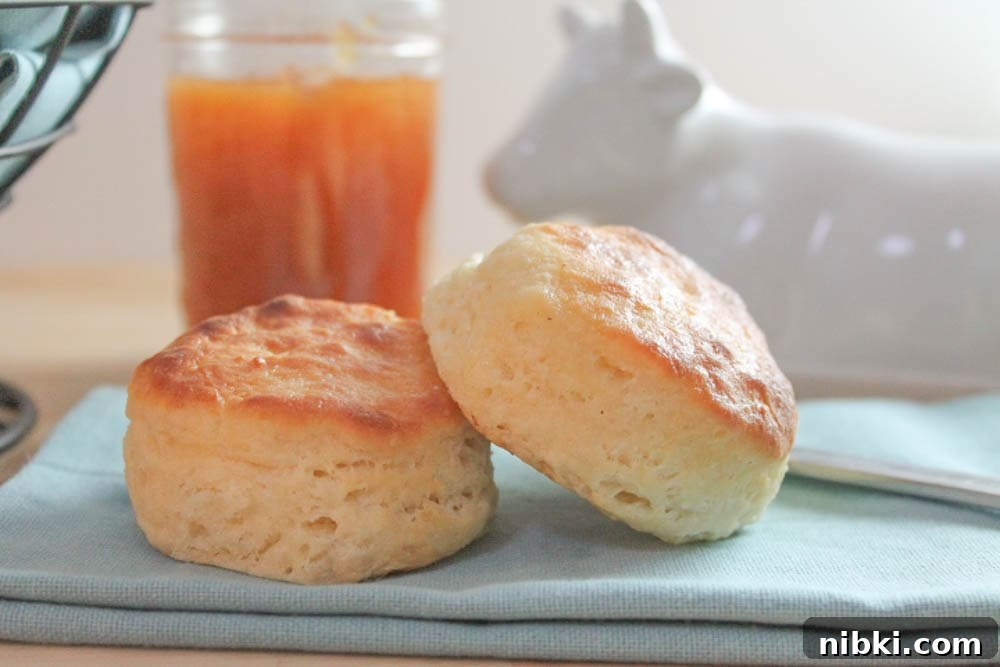
When I picture classic homemade buttermilk biscuits I think buttery, flaky, and straightforward — yet making them from scratch can feel surprisingly fussy. Once you start hunting for the perfect buttermilk biscuit recipe, you’ll run into debates: butter versus shortening, self-rising flour versus all-purpose, pastry cutter versus food processor. I wanted a reliable, simple method that produces flaky, flavorful biscuits using ingredients you likely already have on hand.
To develop a fool-proof recipe I studied more than 20 different versions, watched dozens of videos, and tested techniques until the method felt dependable. The result is a biscuit that’s light, tender, and pleasantly layered, and it’s one of my favorites to make when I want a classic homemade side or breakfast treat.
If you usually buy canned biscuits, give these a try — the difference is worth it. Don’t worry if this is your first time making biscuits from scratch: I’ll walk you through the essential tips to get great results every time.
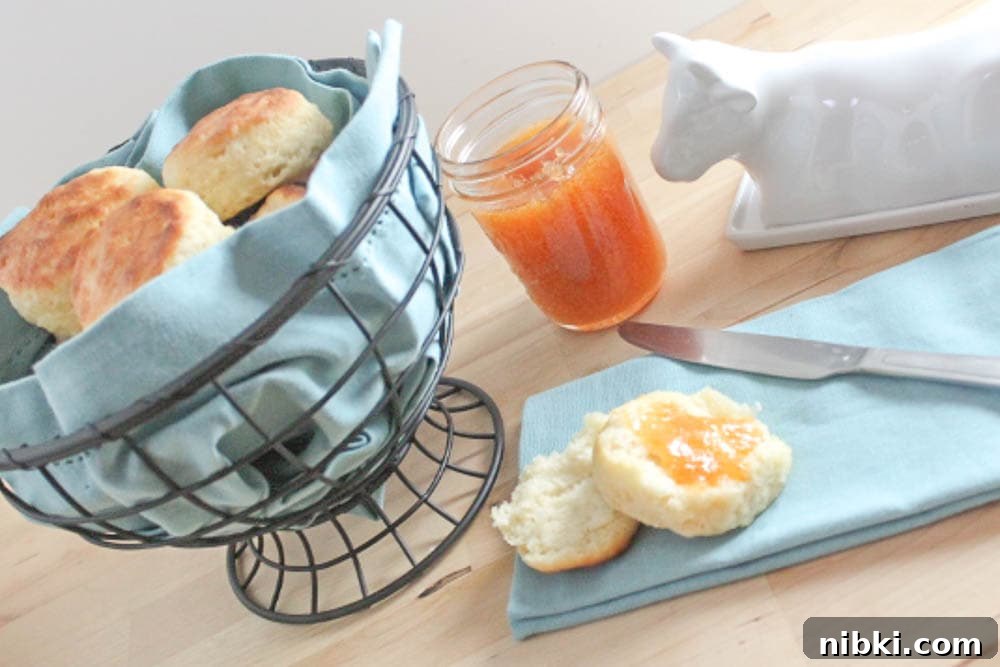
The Ingredients
True buttermilk is ideal for these biscuits, but if you don’t keep it on hand a quick homemade substitute works very well: add a few teaspoons of white vinegar to cold milk and let it sit for about 10 minutes to slightly acidify the milk. This creates the tang and acidity that react with the baking soda and baking powder to give the biscuits lift.
Most classic recipes call for unsalted butter so you can control salt, but I use salted butter and skip the extra shopping trip. If you prefer unsalted butter, add about 1 teaspoon of table salt to the dry ingredients. I also avoid shortening in this version — using butter gives the best flavor and flakiness for my tastes.
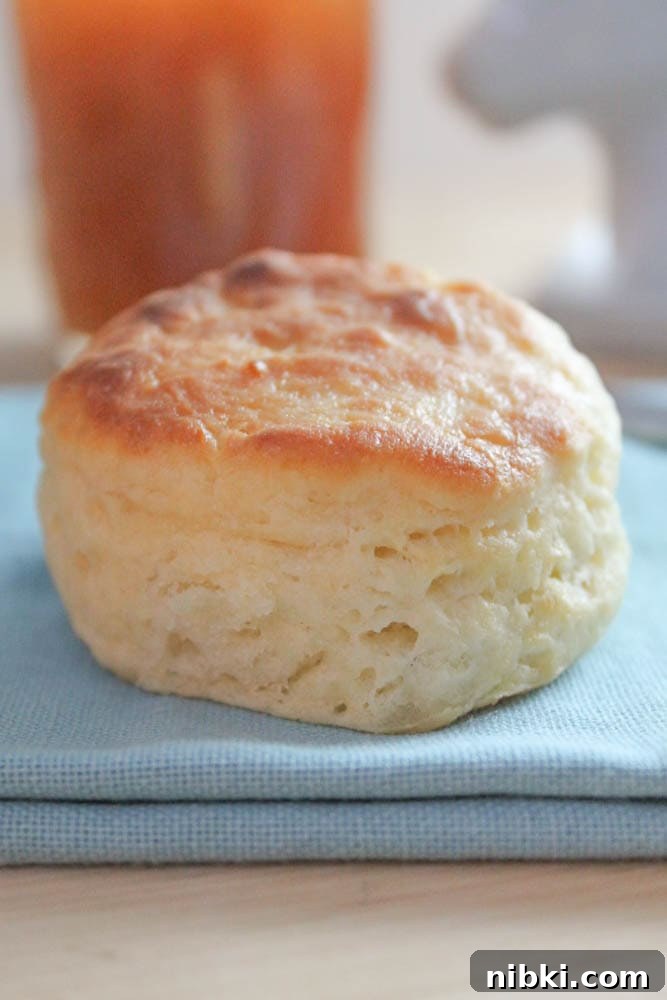
The Process
The cardinal rule when making biscuits is don’t overwork the dough — but be careful not to under-mix either. Aim for about 15–18 gentle turns or stirs after you add the liquid: the dough should come together but remain a little lumpy and slightly sticky. This keeps the texture tender rather than tough.
Another important tip: don’t twist the cutter when you cut the biscuits. Twisting seals the edges and prevents the layers from rising fully. Press straight down and lift the cutter straight up for the best rise.
Instead of a pastry cutter or food processor, I recommend grating frozen butter with a box grater. Grating distributes cold butter through the flour evenly while keeping it cold, which helps create flaky layers. Use a whole stick of frozen butter and grate down until you’ve used about 6 of the 8 tablespoons; reserve the remaining 2 tablespoons to brush on the warm biscuits after baking.
There’s also disagreement about whether to roll the dough or press it by hand. Both work, but I prefer to shape the dough with my hands. Lightly floured hands let you press and fold with more control. Freezing the butter and working quickly offsets any slight warming from your hands.
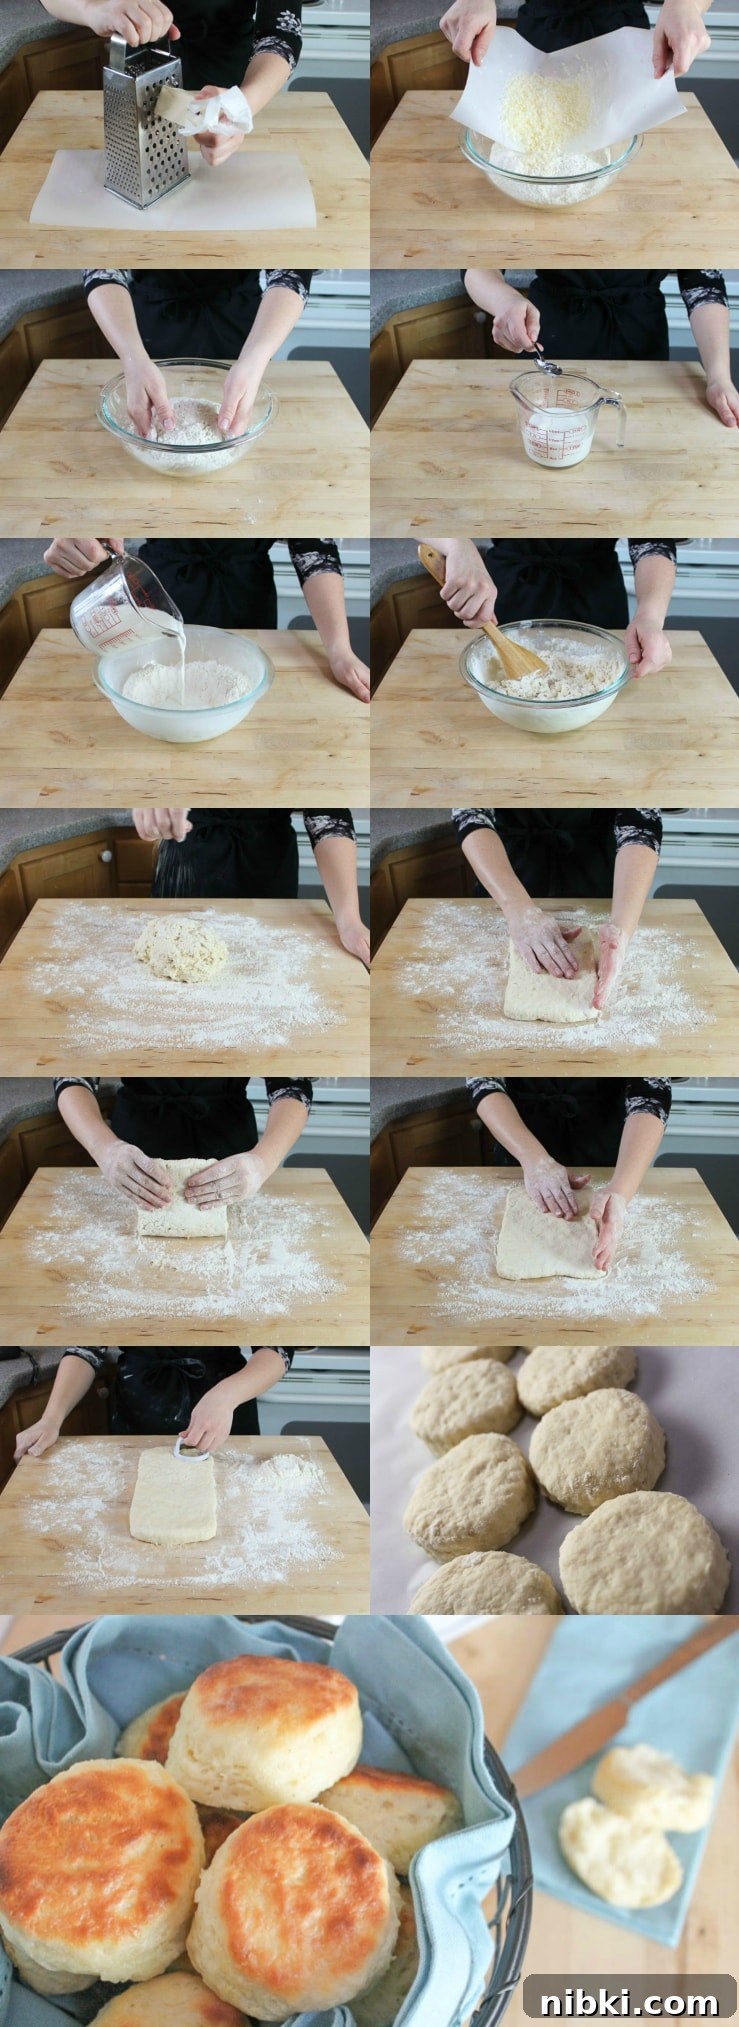
Baking time depends on the cutter size you use. I often use a 2.25-inch cutter and bake the biscuits until they are just lightly browned on top. If you make larger or smaller biscuits, adjust the baking time accordingly. The most reliable indicator is color: a light golden top means they’re done.
I love serving these biscuits with homemade jam or alongside roast chicken or turkey with gravy. They’re versatile and delicious any way you serve them.
Fool-Proof Buttermilk Biscuits from Scratch
Author: Allison McGee
Step-by-step directions for making fool-proof light, flaky, buttery buttermilk biscuits from scratch. No baking mixes or canned biscuits required.
Prep & Time
Prep Time: 30 mins | Cook Time: 15 mins | Total Time: 45 mins
Course & Servings
Course: Breads | Cuisine: American | Servings: 14 biscuits | Calories: 133 kcal per biscuit
Equipment
- Box cheese grater or Microplane zester/grater
- Mixing bowls
- Measuring cups and spoons
- Wooden spoon
- 2.25-inch biscuit cutter (or preferred size)
- Baking sheet or jelly roll pan lined with parchment
- Pastry mat or clean work surface
Ingredients
- 2 cups all-purpose flour, plus additional for rolling
- 3 teaspoons baking powder
- 1/4 teaspoon baking soda
- 1 cup cold milk
- 4 teaspoons white vinegar
- 1 stick (8 tablespoons) salted butter, frozen
Instructions
- Preheat the oven to 475°F (245°C) and position the rack in the center of the oven.
- In a large mixing bowl, whisk together the flour, baking powder, and baking soda until evenly combined.
- Use a box grater to grate approximately 6 tablespoons of the frozen butter directly into the flour mixture. Reserve the remaining 2 tablespoons for later.
- Gently distribute the grated butter through the flour with your fingers or a fork, then place the bowl in the freezer for a few minutes to keep the mixture cold.
- Measure 1 cup cold milk into a small bowl and stir in the vinegar. Let the mixture sit for 10 minutes to slightly thicken and acidify.
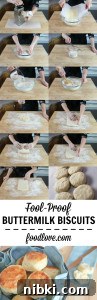
- Remove the flour mixture from the freezer. Make a shallow well in the center and pour in the milk mixture. Stir gently about 15–18 times with a wooden spoon until just combined. The dough should be slightly sticky and lumpy.
- Turn the dough out onto a lightly floured surface and sprinkle a little flour on top. With floured hands, press the dough into a rectangle about 5.5 by 11.5 inches and 1/2 inch thick.
- Fold the dough over onto itself, then press it back out to the same rectangle size. Repeat this fold-and-press process a total of five times to build layers.
- Dip a 2.25-inch cutter in flour, press straight down into the dough, and lift straight up to cut biscuits. Gather scraps, gently reshape, and cut additional biscuits.
- Place biscuits close together on a parchment-lined baking sheet (they can be almost touching) and bake on the center rack for about 15 minutes, or until the tops are lightly browned.
- While the biscuits bake, melt the reserved 2 tablespoons of butter. When the biscuits come out of the oven, brush them with the melted butter and serve warm.
Nutrition (per biscuit)
- Calories: 133 kcal
- Carbohydrates: 15 g
- Protein: 3 g
- Fat: 7 g (Saturated fat: 4 g)
- Cholesterol: 19 mg | Sodium: 188 mg
Tips: Keep the butter as cold as possible until baking, avoid overworking the dough, and resist twisting the cutter. For best texture, work quickly and bake the biscuits as soon as they are cut.
Did you make this recipe? Let us know how it turned out!