
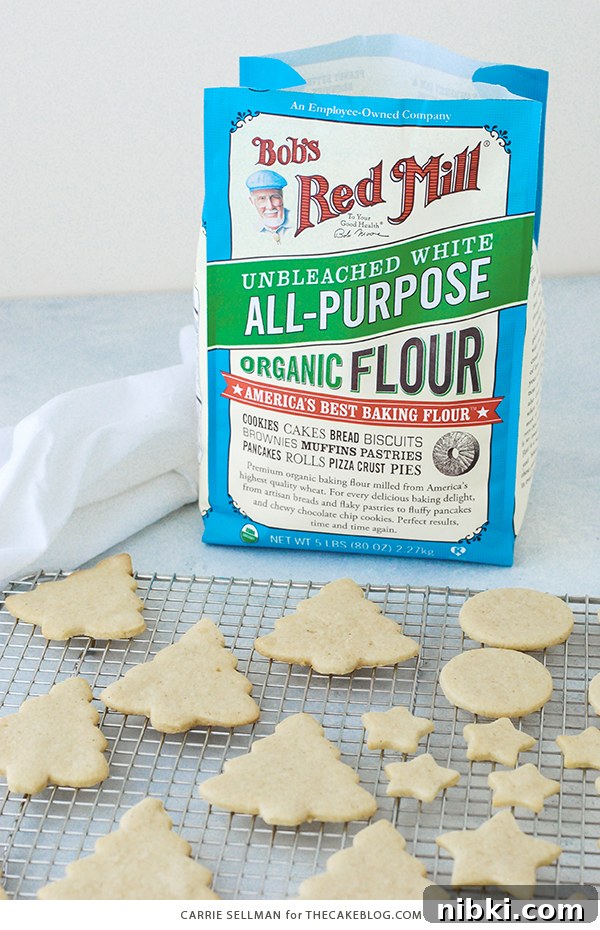
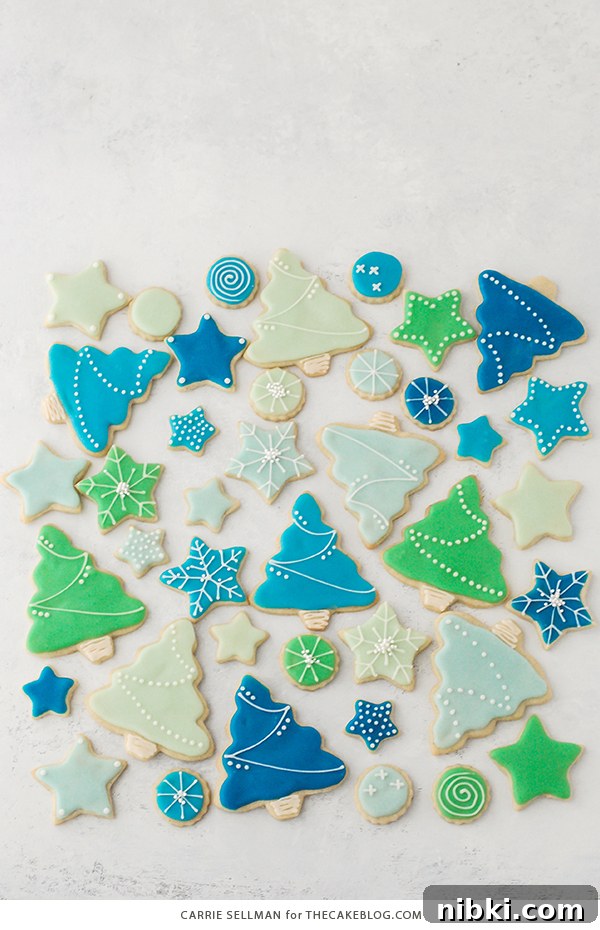
Decorated Sugar Cookies – tender vanilla bean sugar cookies finished with a simple glaze icing, perfect for gifting. A holiday sugar cookie recipe shared as part of Bob’s Red Mill’s Made with Love, Baked with Bob’s campaign.
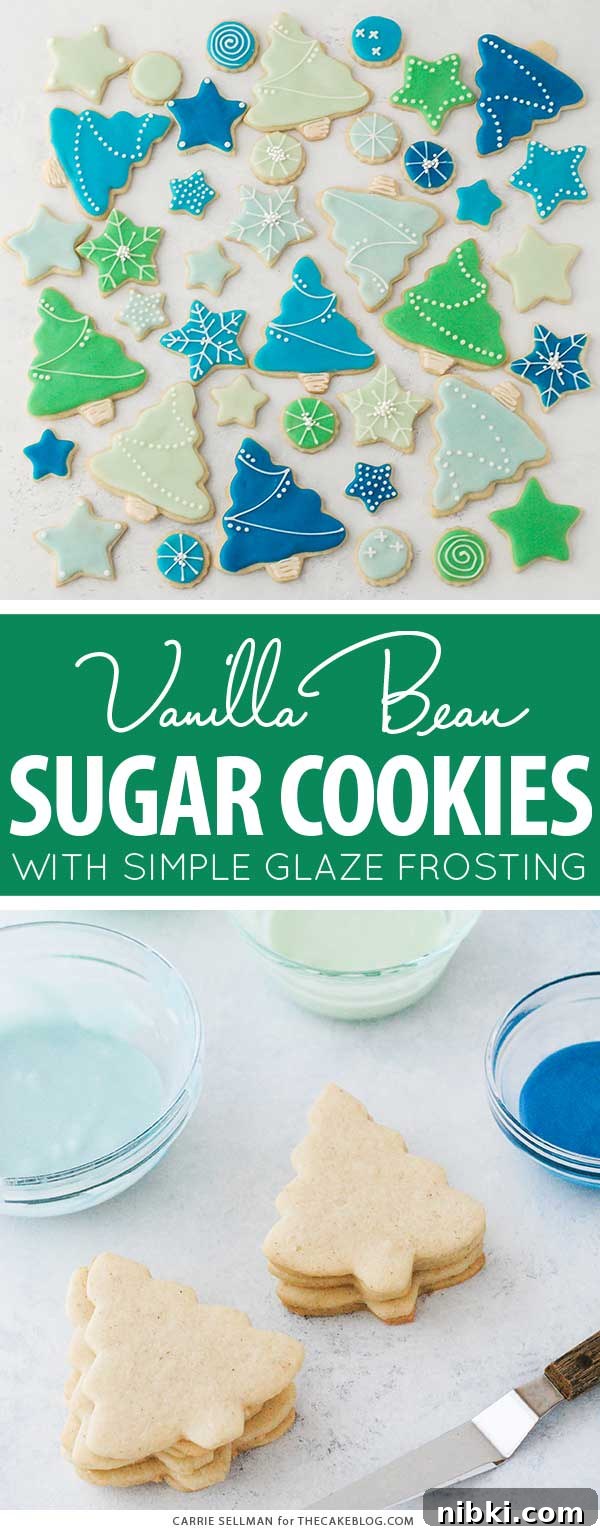

Although most of the content here focuses on cakes and cupcakes, my baking journey began with cookies. Some of my earliest and most vivid baking memories come from my grandmother’s kitchen. Even as a child I had meaningful tasks—chopping nuts, stirring the final dry bits of dough—things she entrusted to me despite her arthritic hands. Baking cookies with her felt like an act of love that shaped my relationship with baking forever.

As I grew older, cookies led me toward decorating and selling them. A close friend asked me to make cookies for her wedding, and that invitation set me on a path from hobby to small business. Decorating sugar cookies became a creative outlet alongside my day job and later helped guide my career toward baking and recipe development.
There were also long stretches when my husband was away. I learned that baking cookies, packaging them carefully and mailing them across the miles helped me feel connected. Baking for others brings emotional benefits to the baker as much as to the recipient; it’s a small way to share comfort and care. That simple act of preparing and sending homemade treats felt meaningful and healing.
When Bob’s Red Mill invited me to participate in the Made with Love, Baked with Bob’s campaign, I was happy to share a cookie recipe. I use Bob’s products in my pantry for their consistent quality, and I appreciate the company’s message about spreading kindness through small acts. Nothing lifts a spirit quite like a thoughtful homemade treat—whether you’re sharing with a neighbor, a teacher, or a friend who needs a pick-me-up.

I hope this recipe inspires you to bake a batch of holiday cookies to share. Look for a seasonal coupon or promotion for Bob’s Red Mill products if you’d like to save a little—then set aside some time to roll, cut, and decorate. These vanilla bean sugar cookies use a straightforward glaze instead of royal icing, making them approachable and still beautiful. Happy baking!
Decorated Sugar Cookies
Vanilla bean sugar cookies with a simple glaze icing — an easy, thoughtful recipe for holiday gift giving and seasonal gatherings.
- Author: Carrie Sellman
- Yield: about 3 dozen
- Category: Holiday Cookies
Ingredients
For the Vanilla Bean Sugar Cookie Dough:
- 3 cups Bob’s Red Mill Organic Unbleached White Flour
- 1/2 teaspoon baking powder
- 1/2 teaspoon salt
- 1 cup unsalted butter, softened
- 1 cup sugar
- 1 egg
- 1 tablespoon heavy cream
- 1 tablespoon vanilla bean paste or vanilla extract
- Confectioners’ sugar for rolling the dough
For the Glaze:
- 4 cups confectioners’ sugar (powdered sugar)
- 6 tablespoons heavy cream
- 6 tablespoons light corn syrup
- 2 teaspoons vanilla extract
- Soft gel food coloring (optional: sky blue, royal blue, red, green)
Instructions
Make the Sugar Cookies:
- Whisk together the flour, baking powder, and salt; set aside.
- In the bowl of a stand mixer fitted with the paddle attachment, beat the butter and sugar on medium-high until pale and fluffy, about 3 minutes.
- With the mixer on low, add the egg, then mix in the heavy cream and vanilla.
- Still on low speed, add the dry ingredients gradually until the dough pulls away from the sides of the bowl. Scrape the bottom and sides of the bowl and mix briefly to ensure the dough is evenly combined. The dough will be slightly sticky.
- Divide the dough in half, place each half on a piece of plastic wrap, flatten into discs, wrap tightly and refrigerate for at least two hours or overnight.
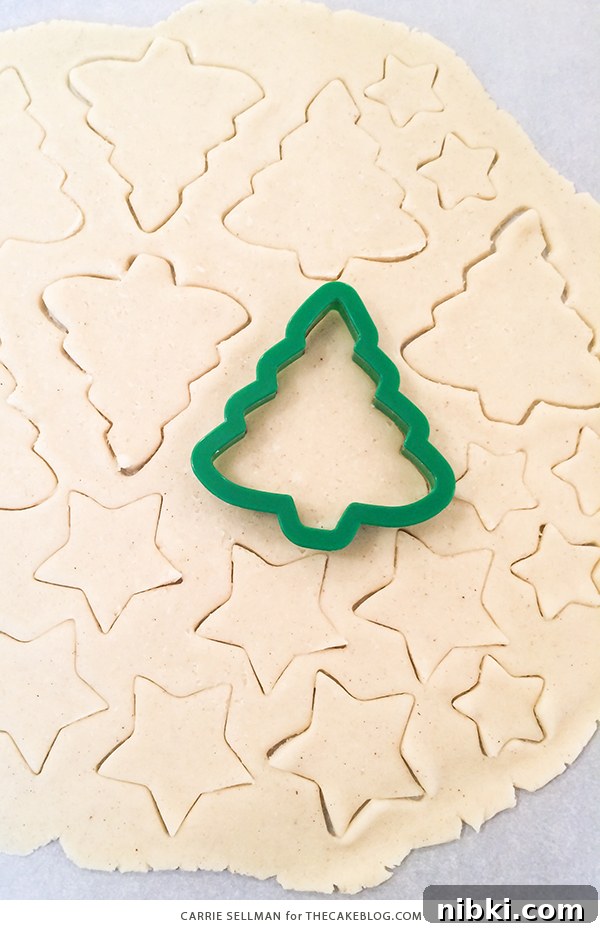
- When ready to bake, preheat the oven to 375°F (190°C). Remove one disc of dough and set it on a sheet of parchment paper. Cover with another sheet of parchment and roll out to 1/4 inch thickness. Remove the top sheet and cut shapes with cookie cutters.
- Place the parchment with the cut cookies on a baking sheet and refrigerate for 10 minutes. Remove scraps between the cutouts, rewrap them for later use, and rearrange the cut cookies on a parchment-lined baking sheet about 1 inch apart.
- Bake for 7–9 minutes, until the edges are just starting to color. If they don’t brown, that’s fine—baking longer yields a crisper cookie.
- Allow cookies to cool on the baking sheet for 2–3 minutes, then transfer to a wire rack to cool completely. Repeat with the remaining dough.
Make the Glaze:
- In a mixing bowl fitted with the whisk attachment, combine the confectioners’ sugar, heavy cream, and corn syrup on low. Whisk until completely smooth and no sugar remains visible. Thorough mixing prevents white spots after the glaze dries.
- Stir in the vanilla extract.
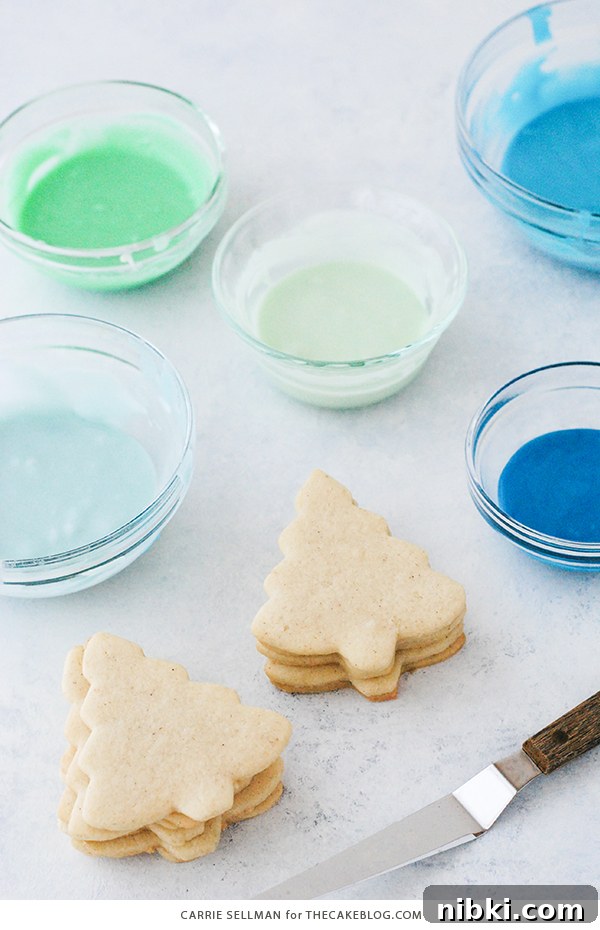
- Divide the glaze into small bowls and tint with gel food coloring as desired. Keep the bowls covered with a damp paper towel while you work to prevent the glaze from forming a skin. For longer storage, cover and refrigerate.
Decorate the Cookies:
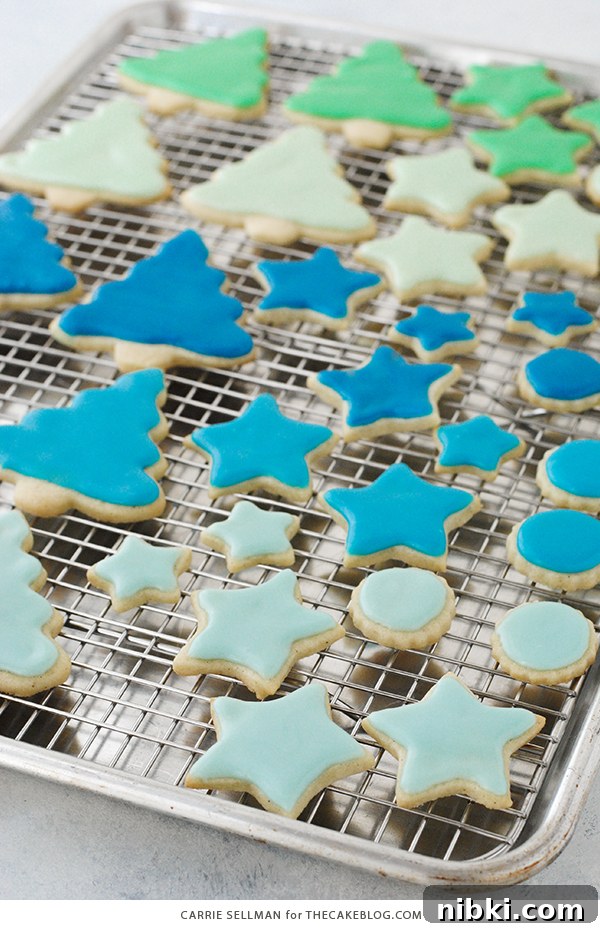
- Spoon a small amount of glaze onto the center of each cookie and spread with a small offset spatula, stopping just short of the edge so the glaze won’t drip off.
- If the glaze is too thin and runs, thicken it with a little more confectioners’ sugar.
- Place glazed cookies on a wire rack set over a baking sheet to catch any drips.
- After the base glaze has set a bit (about 20 minutes), prepare a thicker detailing glaze by adding more confectioners’ sugar. Transfer it to a piping bag fitted with a tiny round tip for outlines, dots, or other details. Test the flow on a plate and adjust thickness as needed.
- Allow decorated cookies to dry uncovered on the rack overnight so the glaze fully sets.
Notes
- Design inspiration comes from professional cookie decorators; practice and patience improve results.
- Saved scraps can be refrigerated and rerolled up to two more times; additional rolls can make cookies slightly tougher.
- Rolling between parchment prevents adding extra flour, which can toughen cookies. If you must roll on a surface without parchment, use confectioners’ sugar rather than flour.
- Add gel color sparingly—start small and build the shade gradually. Use a toothpick to transfer color to avoid over-tinting.
- For a quicker finish, thin the glaze with a bit more cream and dip the cookie face down into the glaze. Let excess drip off and place on a rack to dry.
- Once glaze is fully set, cookies can be stacked or packaged. Store in an airtight container for up to a week; heat-sealed bags extend freshness.
- To ship cookies, seal each cookie in a bag, wrap in bubble wrap, and nestle in a box with cushioning on all sides to prevent breakage.

This post was written on behalf of Bob’s Red Mill. Thank you for supporting sponsors who help us share recipes and baking ideas.
YOU MAY ALSO ENJOY:
Chocolate Gingerbread Cupcakes
Cupcake Wreath
Birch Log Cake
Hot Chocolate Cake
Pie Crust Cookies