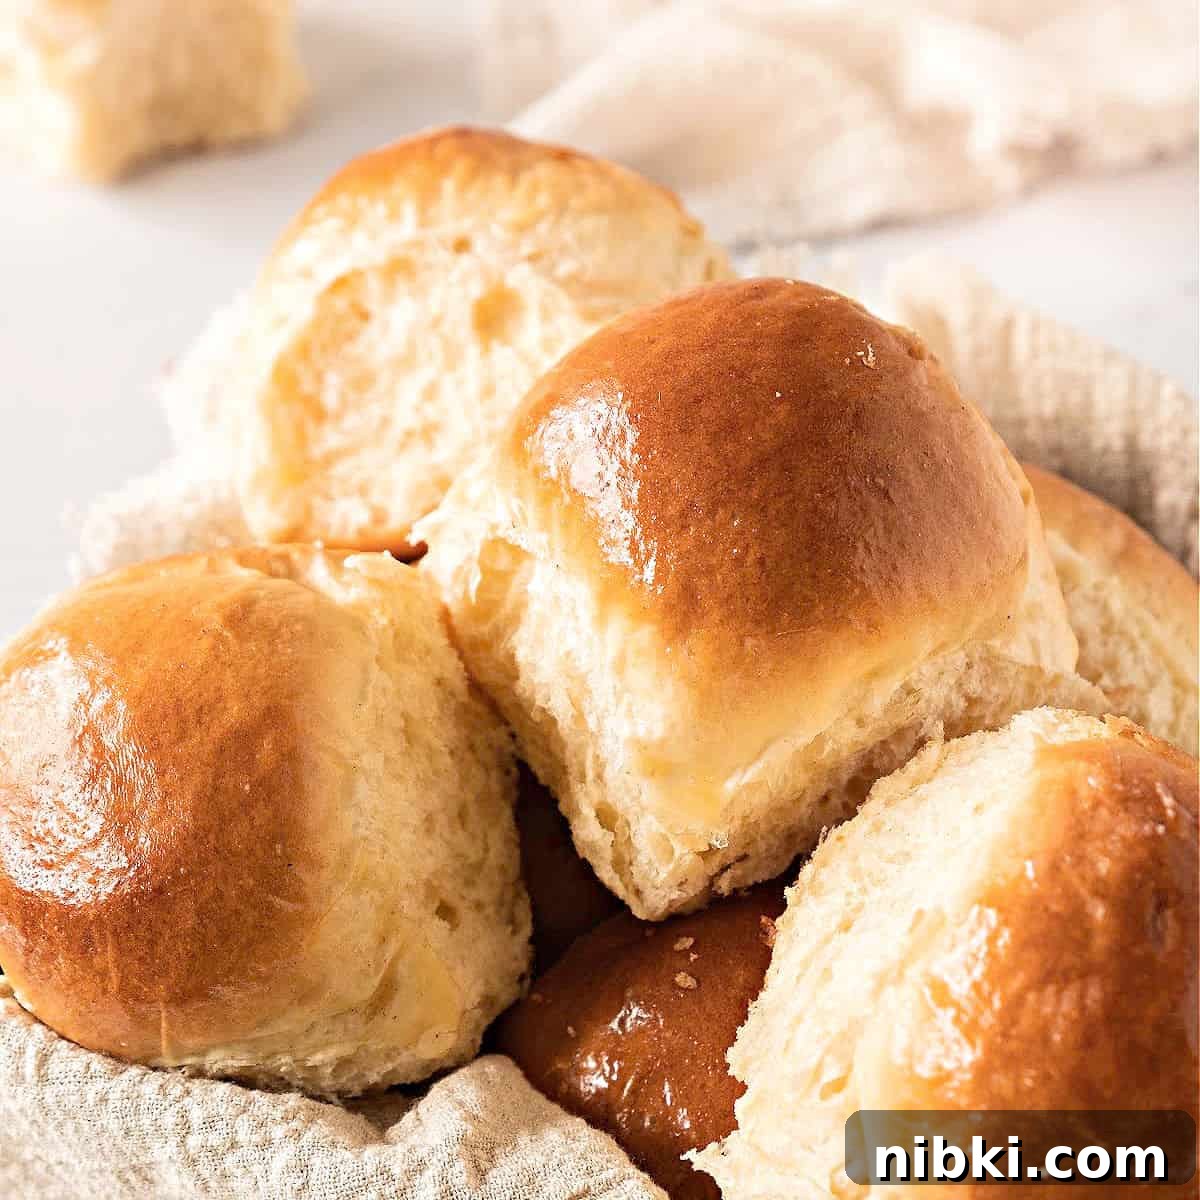
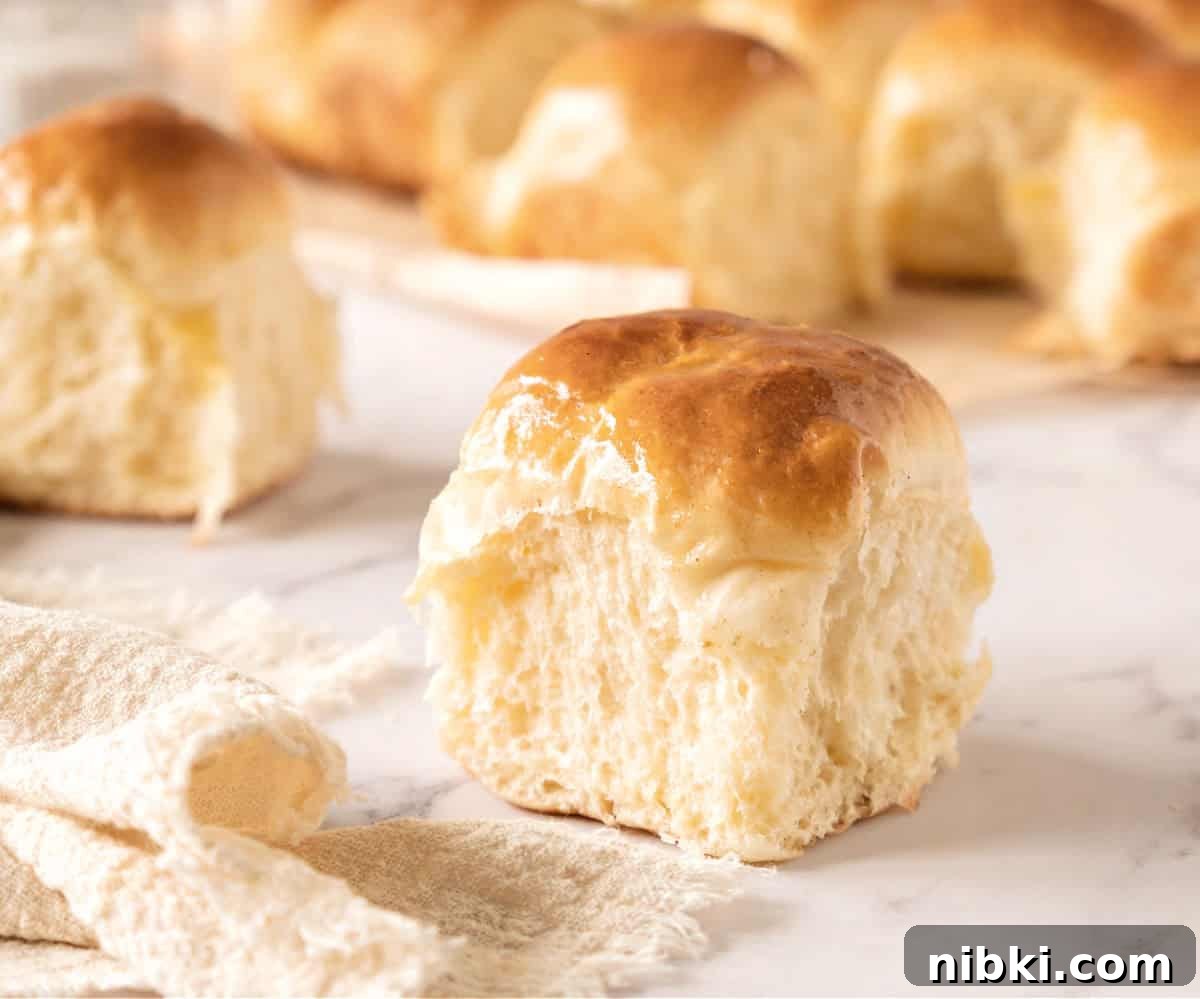
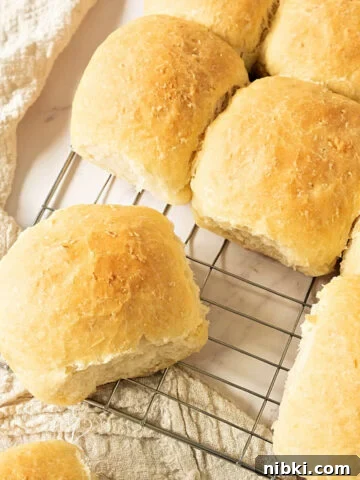
This old-fashioned yeast roll recipe uses a handful of pantry ingredients to yield soft, fluffy dinner rolls with a buttery flavor. They can be made plain or flavored, shaped in different ways, used for sliders or sandwiches, and freeze well for make-ahead convenience. The instructions and tips below are written so even a beginner baker can follow them with confidence.
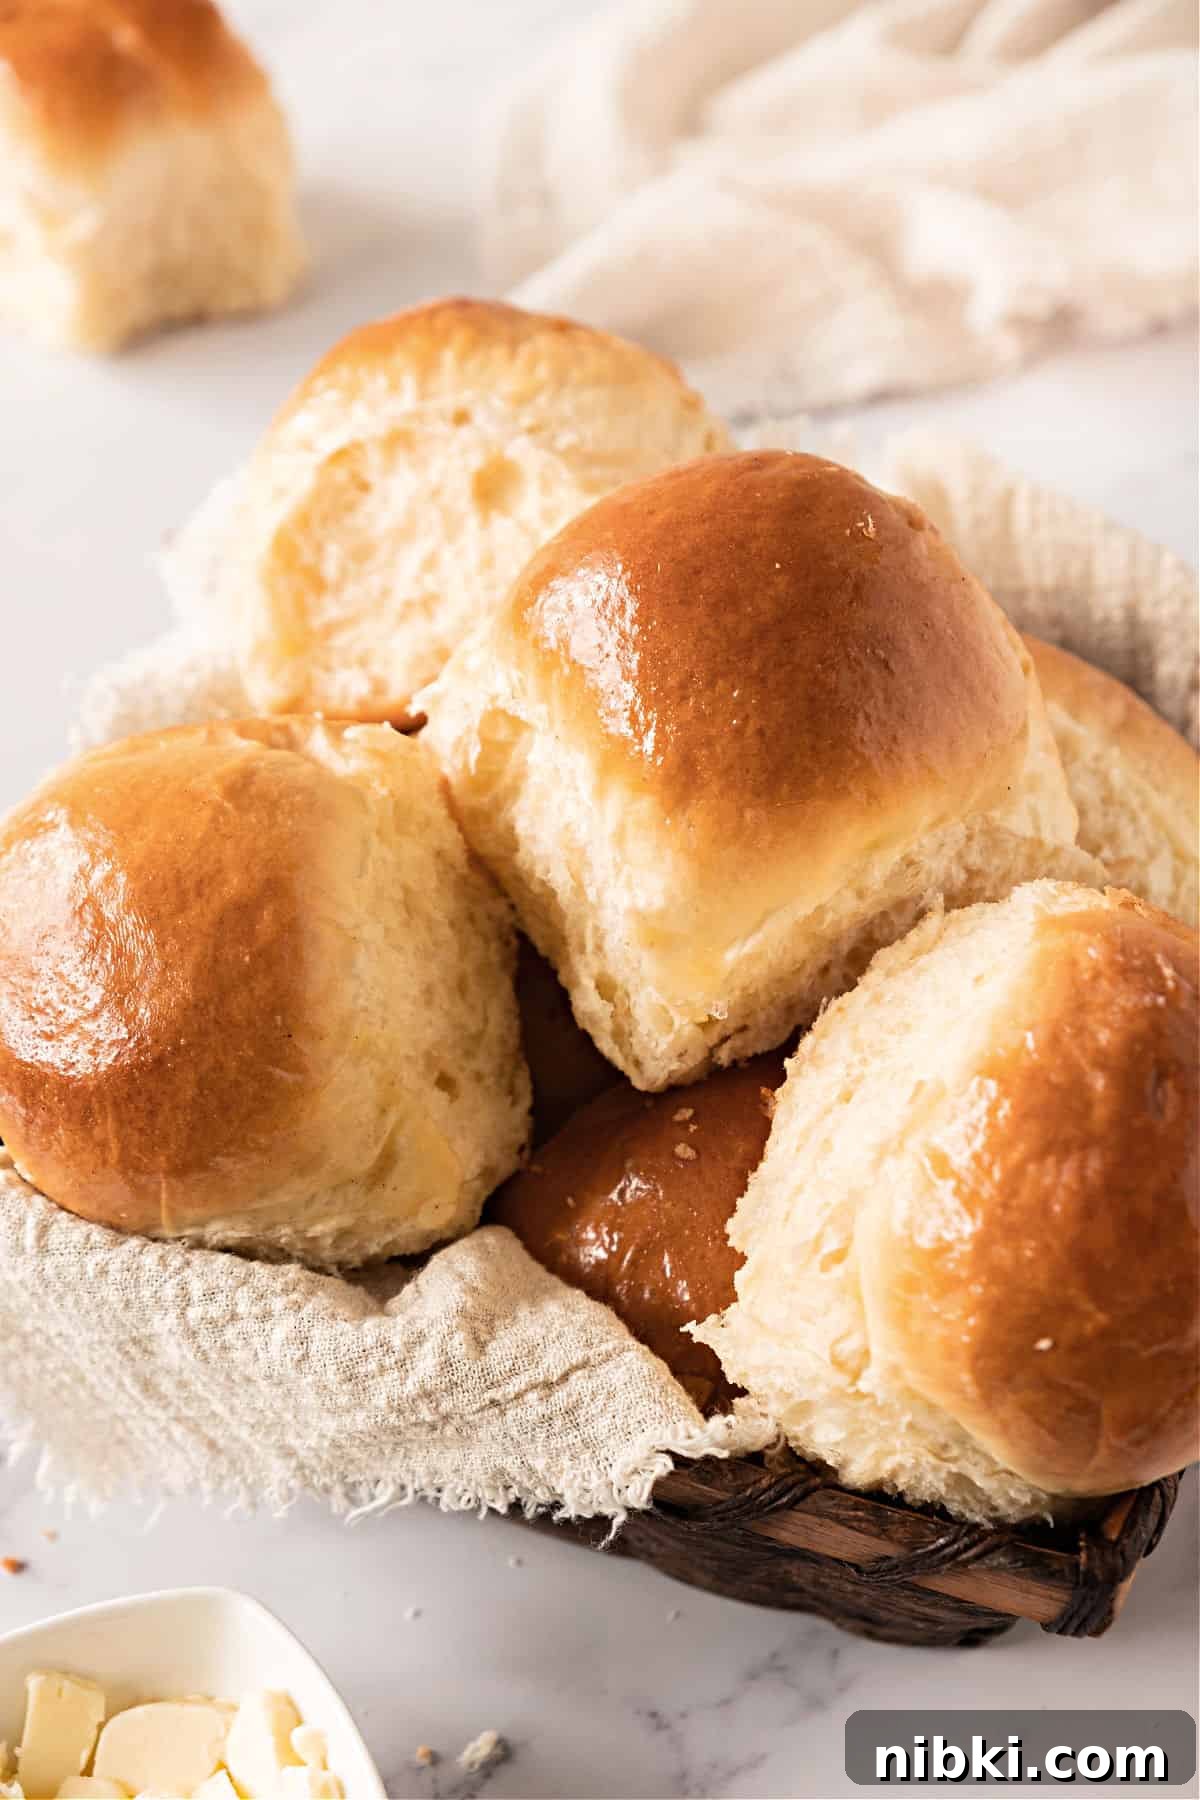
Classic rolls
This is my go-to recipe for old-fashioned soft dinner rolls. It has been handed down in my family and adapts easily to different shapes and flavors.
The dough is a straight dough using dry yeast (no starter). Consider it a versatile base: you can add herbs, onions, garlic, or cheese, or shape it into rolls, loaves, or buns.
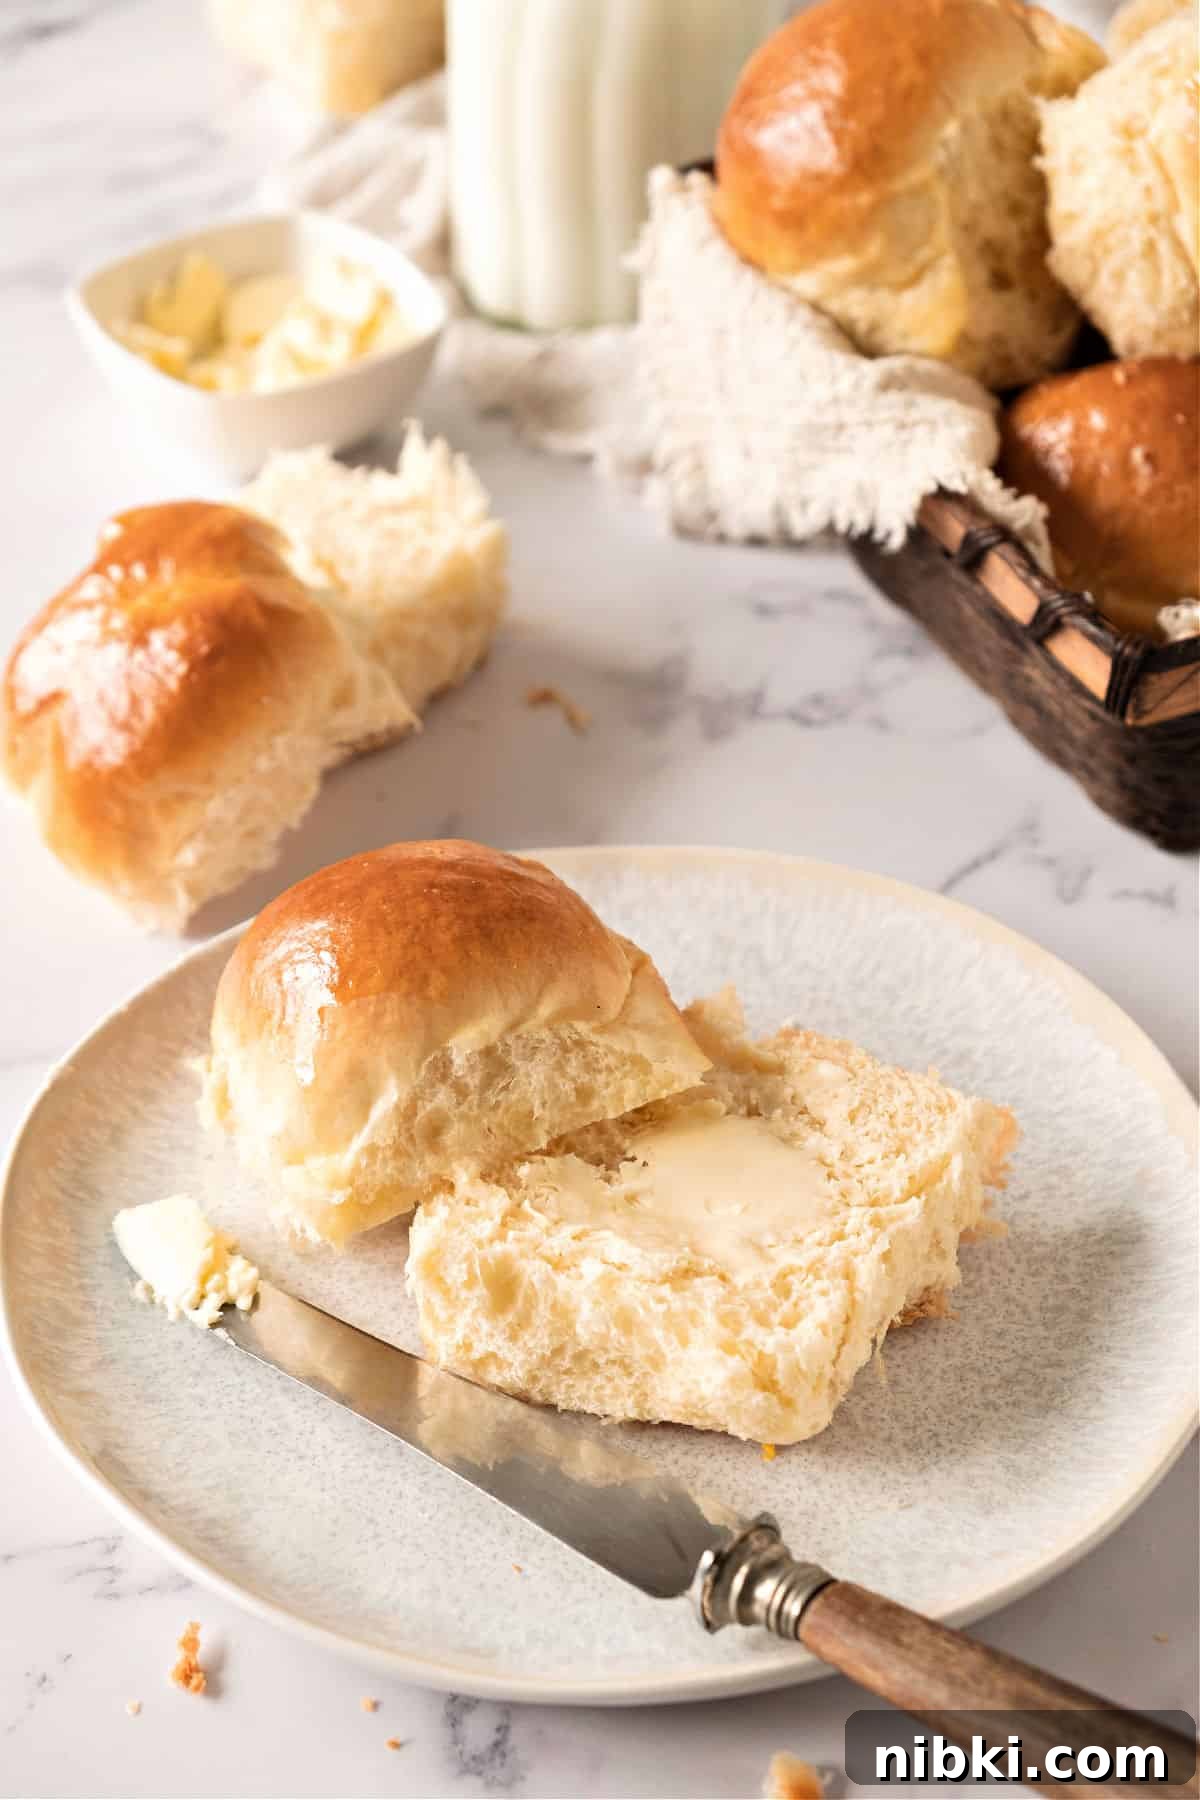
These rolls are ideal for sliders, sandwiches, or a holiday bread basket. Serve them warm with butter, honey, or jam. Make a batch, freeze extras, and reheat when needed for near-fresh results.
Testing notes
Be organized: bread baking involves multiple rise times, so read the recipe all the way through first. Make sure ingredients are at the recommended temperatures and have the utensils and workspace ready.
Check your yeast: fresh, active yeast will foam when proofed in warm water with a little sugar. If it fails to foam, replace it. If using instant yeast, follow package directions for adding it directly to the flour.
Use bread flour if possible: bread flour gives a slightly stronger structure, but all-purpose flour produces excellent rolls too—don’t let flour availability stop you from baking.
Choose a large bowl for rising: give the dough room to double so it does not overflow.
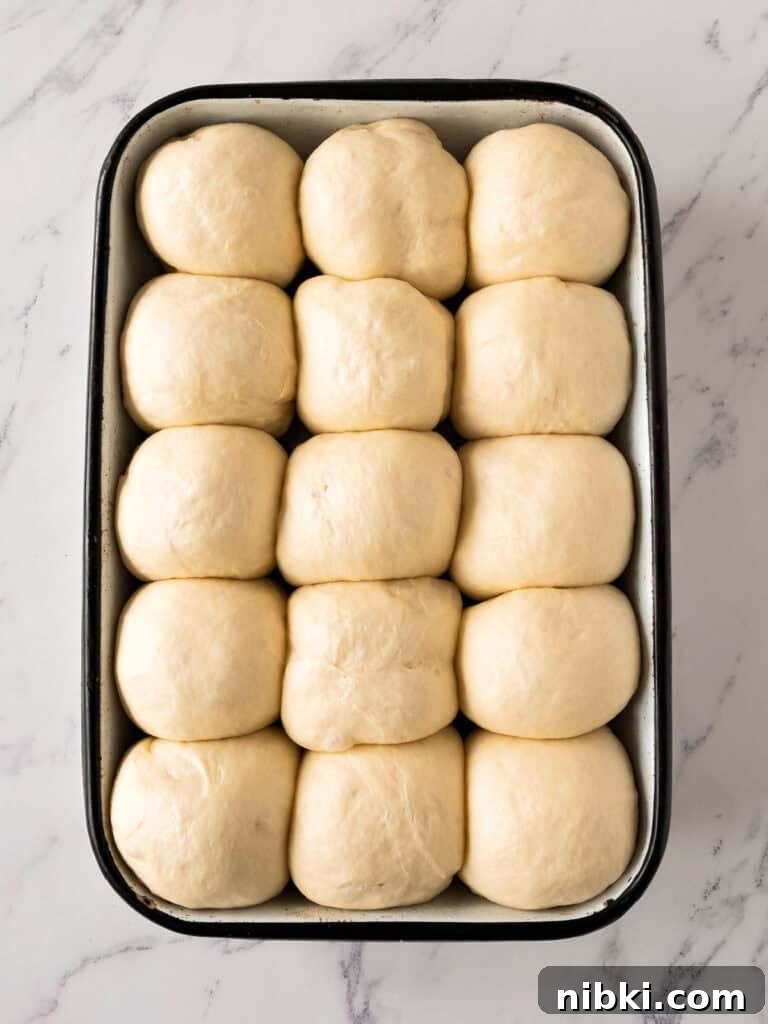
Pan size affects texture: for soft sides, arrange shaped rolls so they just touch after the final rise. This gives a tender, pull-apart edge when baked.
Uses and variations
- Shapes: roll into round rolls, shape into loaves, batards, breadsticks, or small buns.
- Add-ins: fold chopped herbs, sautéed onions, minced garlic, or grated cheese into the dough for savory variations.
- Sandwiches and sliders: these rolls are sturdy enough for leftover meats and spreads and soft enough for breakfast splits and toasts.
- Toasts for boards: if rolls become slightly stale, slice thinly and bake until crisp to make toasts—brush with olive oil and sprinkle salt for a savory bite perfect with cheese or charcuterie.
Ingredient notes
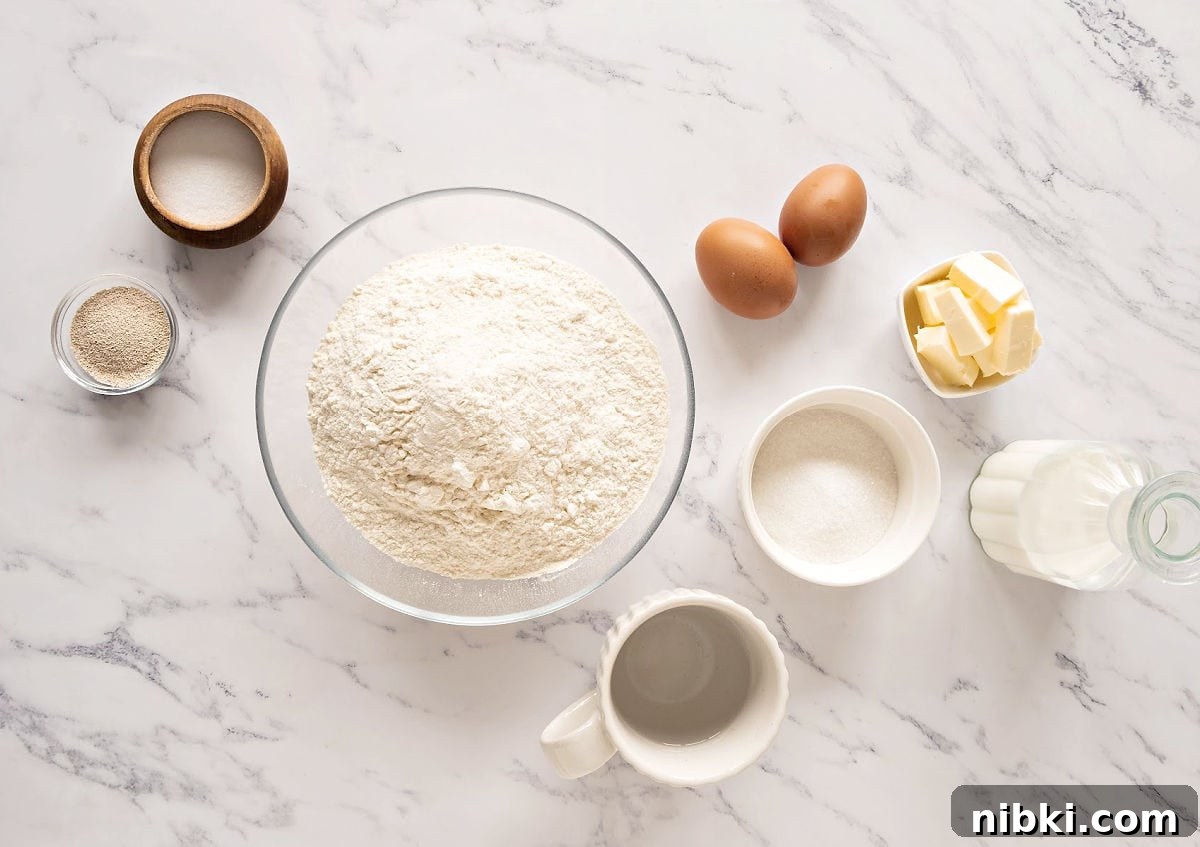
Quantities are listed in the recipe card below. A few important points:
- Yeast: active dry yeast is used and should be proofed. If using instant yeast, reduce the amount slightly and add it directly to the flour according to package instructions.
- Sugar: feeds the yeast and adds softness and color. You can substitute light brown sugar or cane sugar; results may be slightly darker.
How to make sure yeast works
- Check the expiration date: replace yeast if it has expired.
- Visual check: yeast should look granular and beige to light brown; discard if gray or clumpy.
- Smell test: a mild, slightly sweet aroma is normal; strong or unpleasant odors indicate deterioration.
Proofing test: stir ½ teaspoon sugar into ¼ cup warm water, sprinkle ½ teaspoon yeast on top, and wait 5–10 minutes. Active yeast will bubble and foam.
Golden rule: when in doubt, buy new yeast. It’s better to replace it than to risk a failed bake.
How to make rolls from scratch
Stand mixer: mix and knead with a dough hook for convenience and consistency.
By hand: perfectly feasible and rewarding—expect to knead on a floured surface until the dough is smooth and elastic.
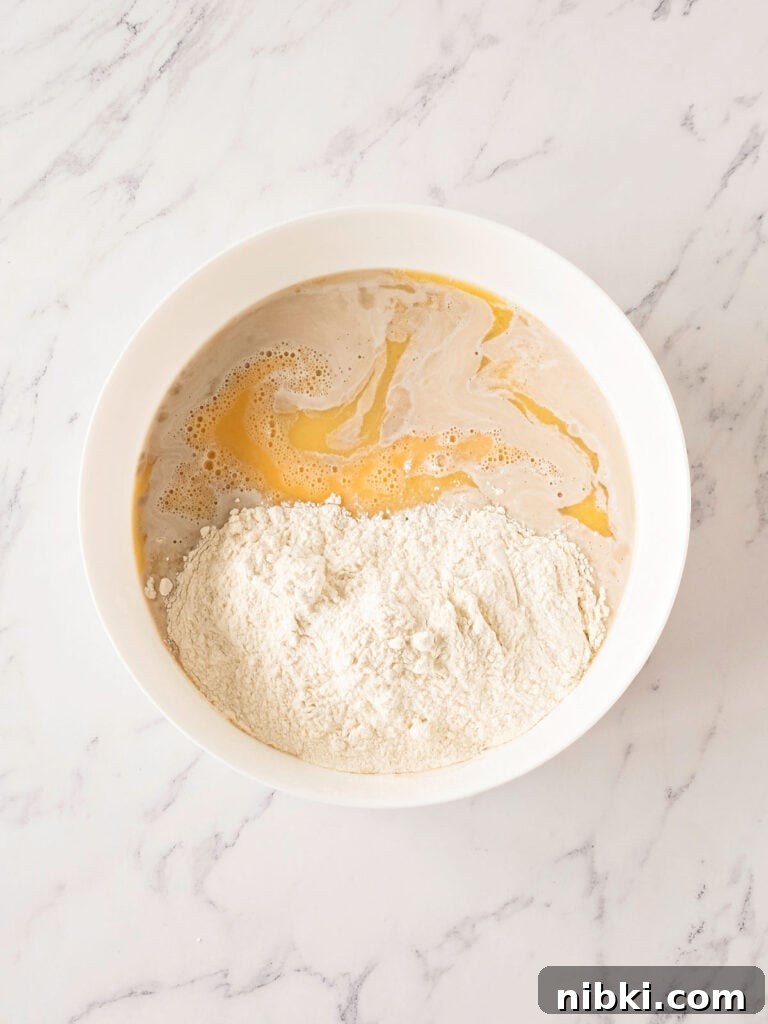
Wet ingredients
Never use hot liquids: they can kill the yeast. Warm (lukewarm) is ideal when combining with yeast.
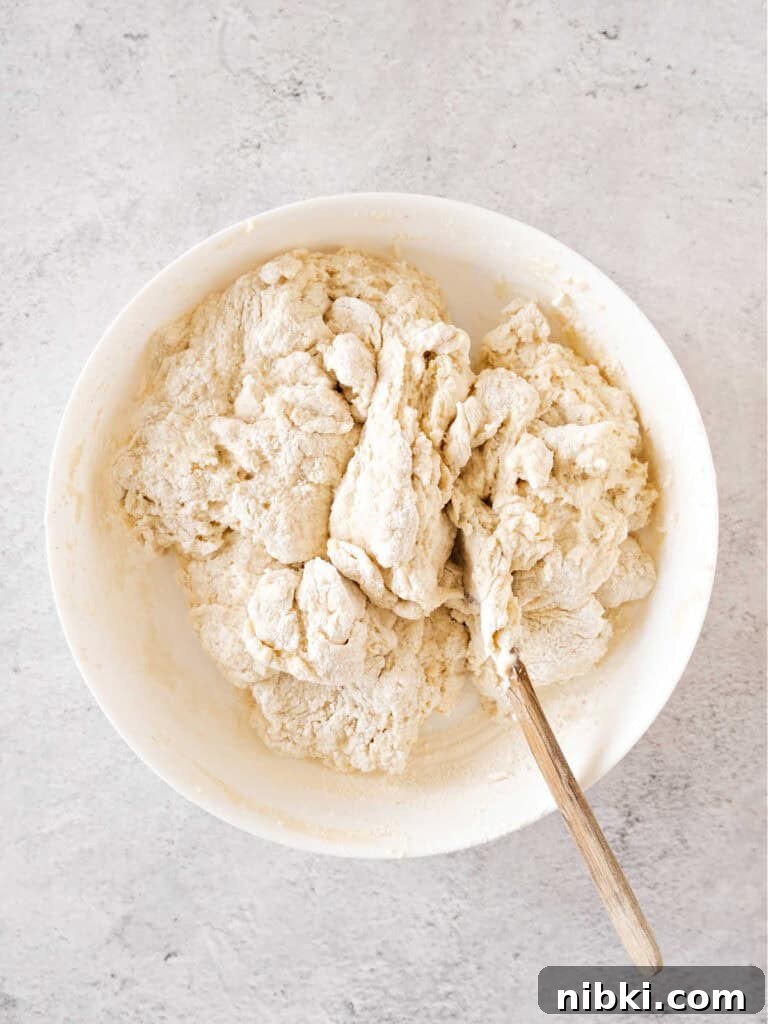
Start mixing
Expect a shaggy mass at first: the dough will come together as you knead. Resist adding extra flour until you see how the texture develops during kneading.
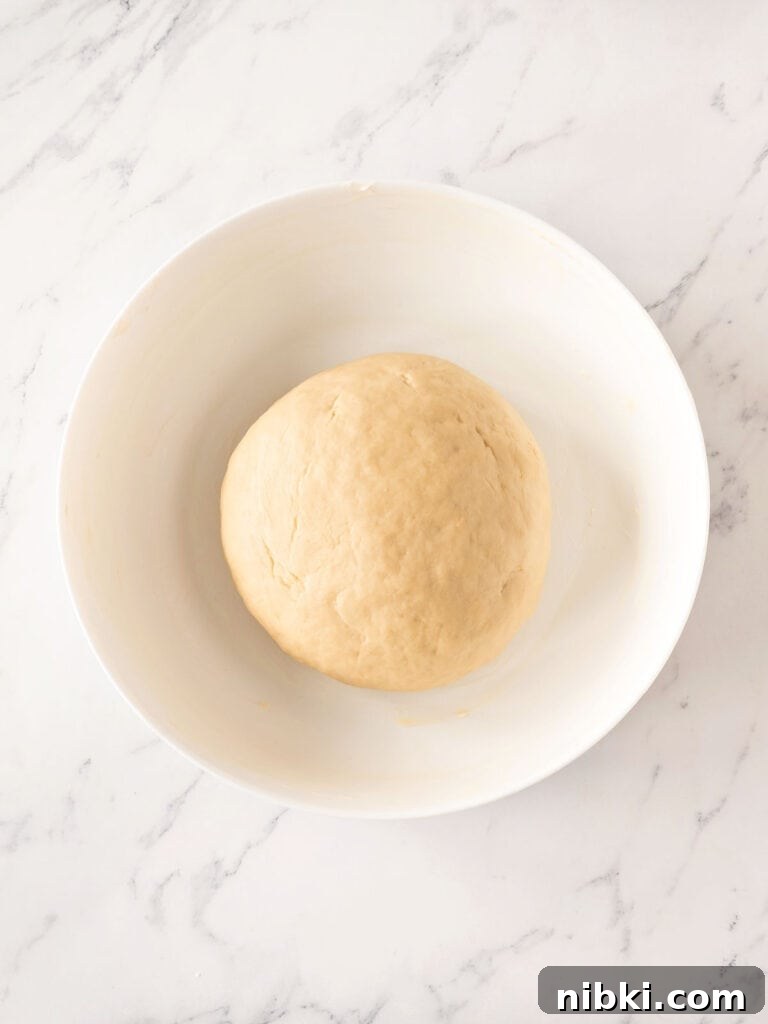
First rise
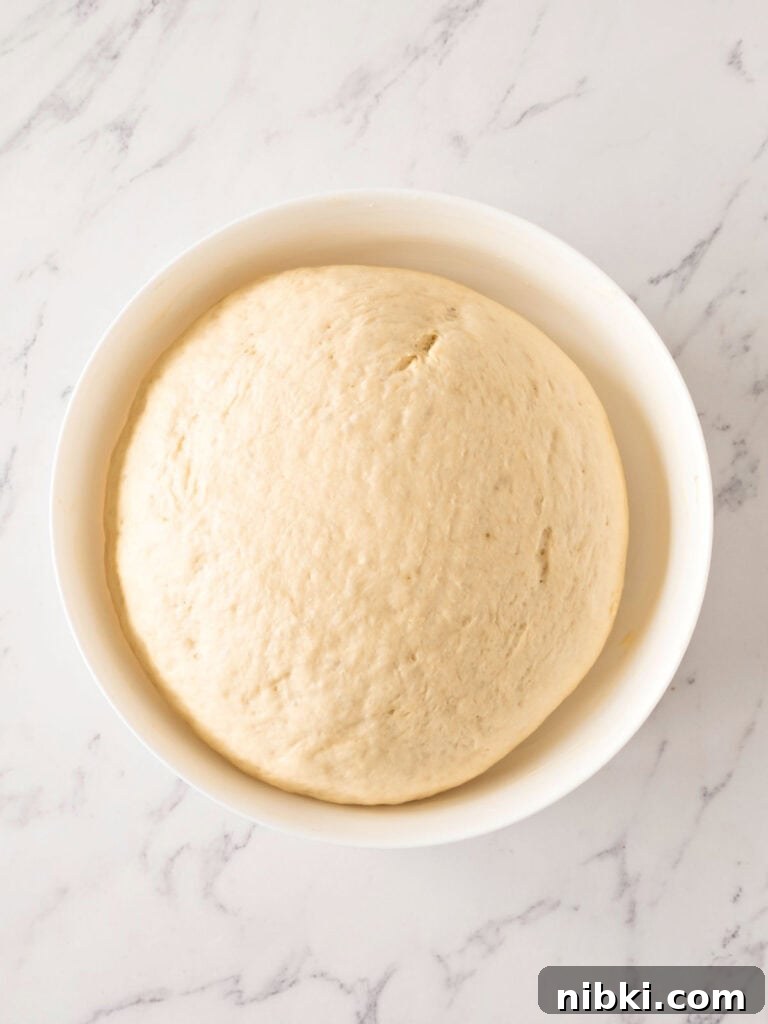
Knead until the dough is smooth and forms a ball. Place it in a lightly greased bowl, cover, and let it rise until doubled. Use a bowl large enough to allow expansion.
Proofed dough
Cover and let the dough double in size — this stage is called proofing and is easy to spot when the dough looks noticeably larger.
Second rise
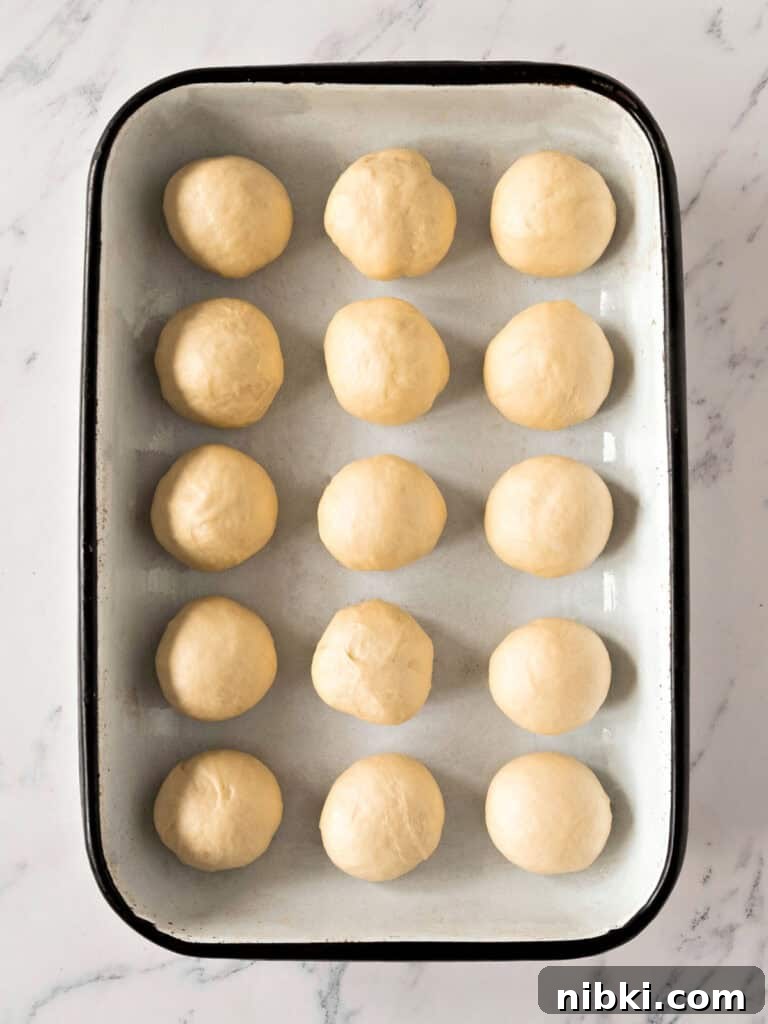
Shape the dough into rolls, place them in a buttered pan so they barely touch, and allow a second rise until puffy.
Before baking
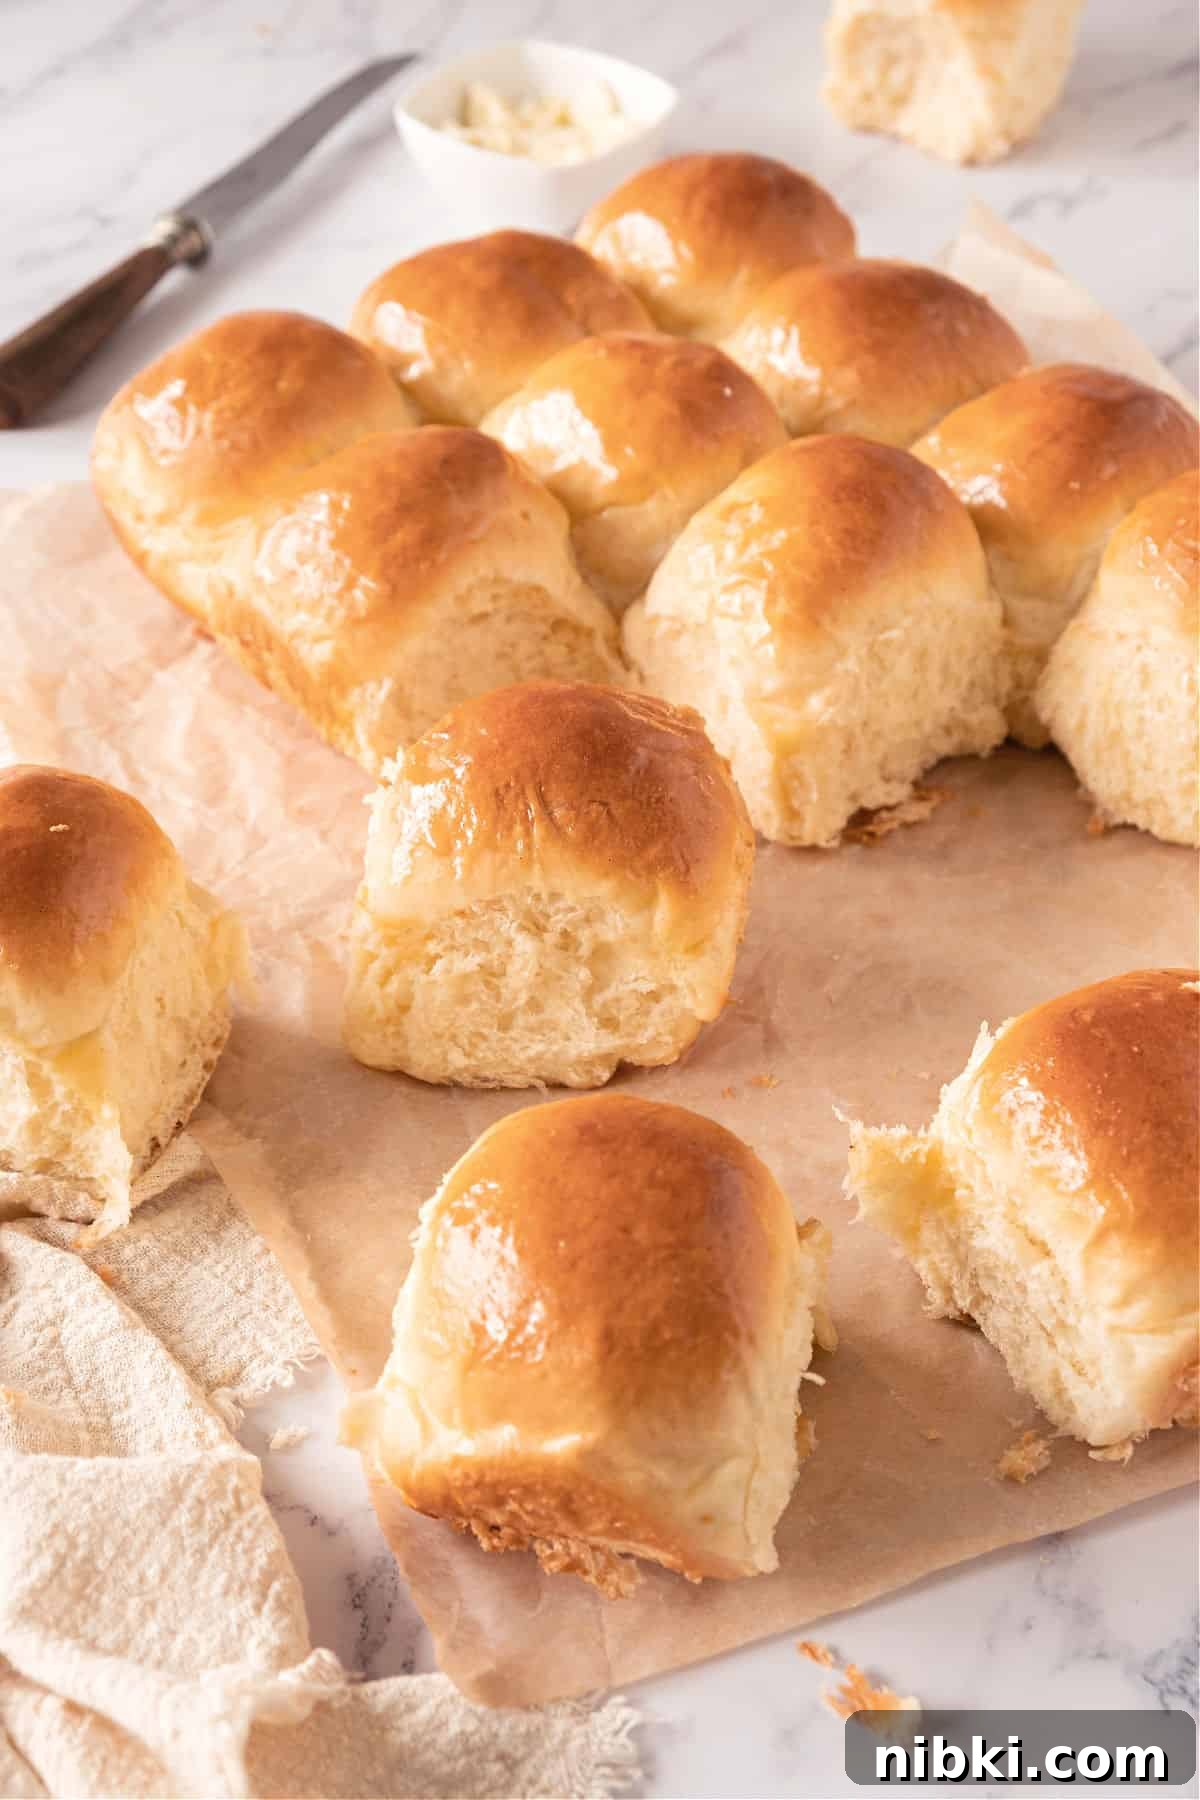
When rolls have puffed and touch each other, brush the tops with melted butter just before baking to give them a shiny, tender crust.
Baking
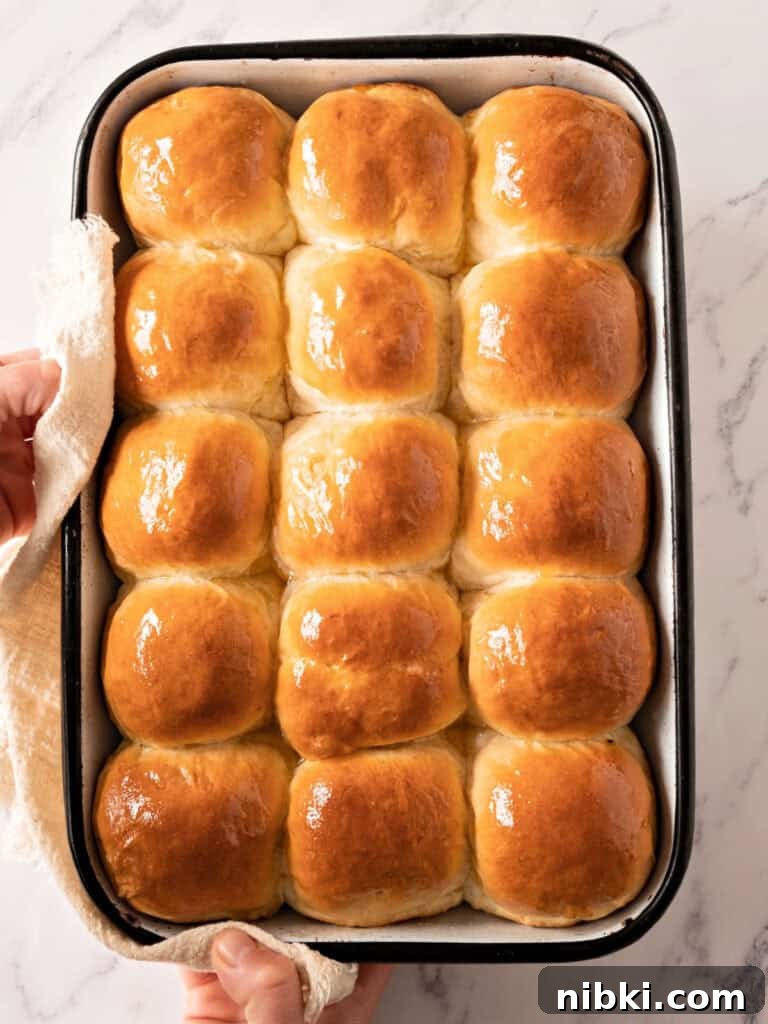
Bake until golden and firm to the touch, about 20 minutes. A hollow sound when tapping the bottom indicates they are done. Cool on a rack before storing.
Storage
Room temperature: cool completely and store in an airtight container or resealable bag for 2–3 days.
Refrigeration and freezing: for longer storage, refrigerate up to a week or freeze up to a month in a sealed container or wrapped well.
Reheating: to refresh chilled rolls, cover with foil and warm at 325°F (165°C) for about 10 minutes; frozen rolls will take longer. Leaving them uncovered will give a crisper crust.
More rolls and buns
 No-Knead Parker House Rolls (overnight option)
-
Beer Rolls (yeasted)
-
Semolina Bread Rolls
-
Coconut Bread Rolls
Before you go…
If you tried this recipe, please leave a comment and rating below so others can benefit from your experience. If you had any problems, note them and I’ll help troubleshoot.
Easy Soft Dinner Rolls (old fashioned yeast recipe)
Ingredients
- 1 cup whole milk
- ¼ cup sugar
- 1 teaspoon salt
- ¼ cup unsalted butter, at room temperature
- 4 ½ teaspoons active-dry yeast (about 2 packets)
- ½ cup warm tap water (not hot)
- 2 eggs, at room temperature and lightly beaten
- 5 to 5 ½ cups all-purpose or bread flour
- 3 tablespoons unsalted butter, melted, for brushing
Instructions
- Scald 1 cup whole milk, then remove from heat. Stir in ¼ cup sugar, 1 teaspoon salt, and ¼ cup unsalted butter. Stir to dissolve and cool to lukewarm before using.
- Stir 4 ½ teaspoons active-dry yeast into ½ cup warm water in the bowl of a stand mixer or a large mixing bowl if kneading by hand.
- Add the lukewarm milk mixture, 2 lightly beaten eggs, and 2 cups of the flour. Stir to combine; the mixture will be shaggy at first. Attach a dough hook or transfer to a floured surface to knead.
- Add 3 more cups of flour, ½ to 1 cup at a time, and knead until you have a soft, elastic dough. In a stand mixer this takes about 7–8 minutes; by hand it takes about 10 minutes. Use up to the extra ½ cup flour only if the dough is still sticky.
- Place the dough in a lightly greased bowl, turning to coat. Cover with plastic wrap or a towel and let rise in a warm place until doubled, about 30–60 minutes depending on room temperature.
- Punch the dough down gently and turn it out onto a lightly floured surface. Knead a few times and divide into about 15 equal pieces (about 2 ounces or 60 grams each).
- Shape each piece into a tight ball, pinching the seams underneath to seal. Place smooth side up in a buttered pan so they barely touch. You may need more than one pan depending on size.
- Cover with a clean kitchen towel and let rise until doubled, about 30 minutes. Preheat the oven to 350°F (180°C) while the rolls finish their second rise.
- Brush the tops gently with 3 tablespoons melted butter, taking care not to deflate the dough.
- Bake until the rolls are puffed, shiny, and golden, about 20 minutes. They should feel firm and sound hollow when tapped on the bottom.
- Cool on a wire rack. Store leftovers at room temperature in an airtight container for a few days, refrigerate up to a week, or freeze for up to a month.
Notes
Organization: read the recipe through and have ingredients at the correct temperatures, equipment ready, and workspace cleared before you begin. This will make each step run smoothly.
Baking time: ovens and pans vary. Use the listed times as a guideline and check for visual cues: golden color, firm tops, and a hollow sound when tapping the bottoms.
Variations: substitute 1 to 1 ½ cups finely milled whole wheat for some of the flour, or add chopped herbs, garlic, or grated cheese to the dough for extra flavor.