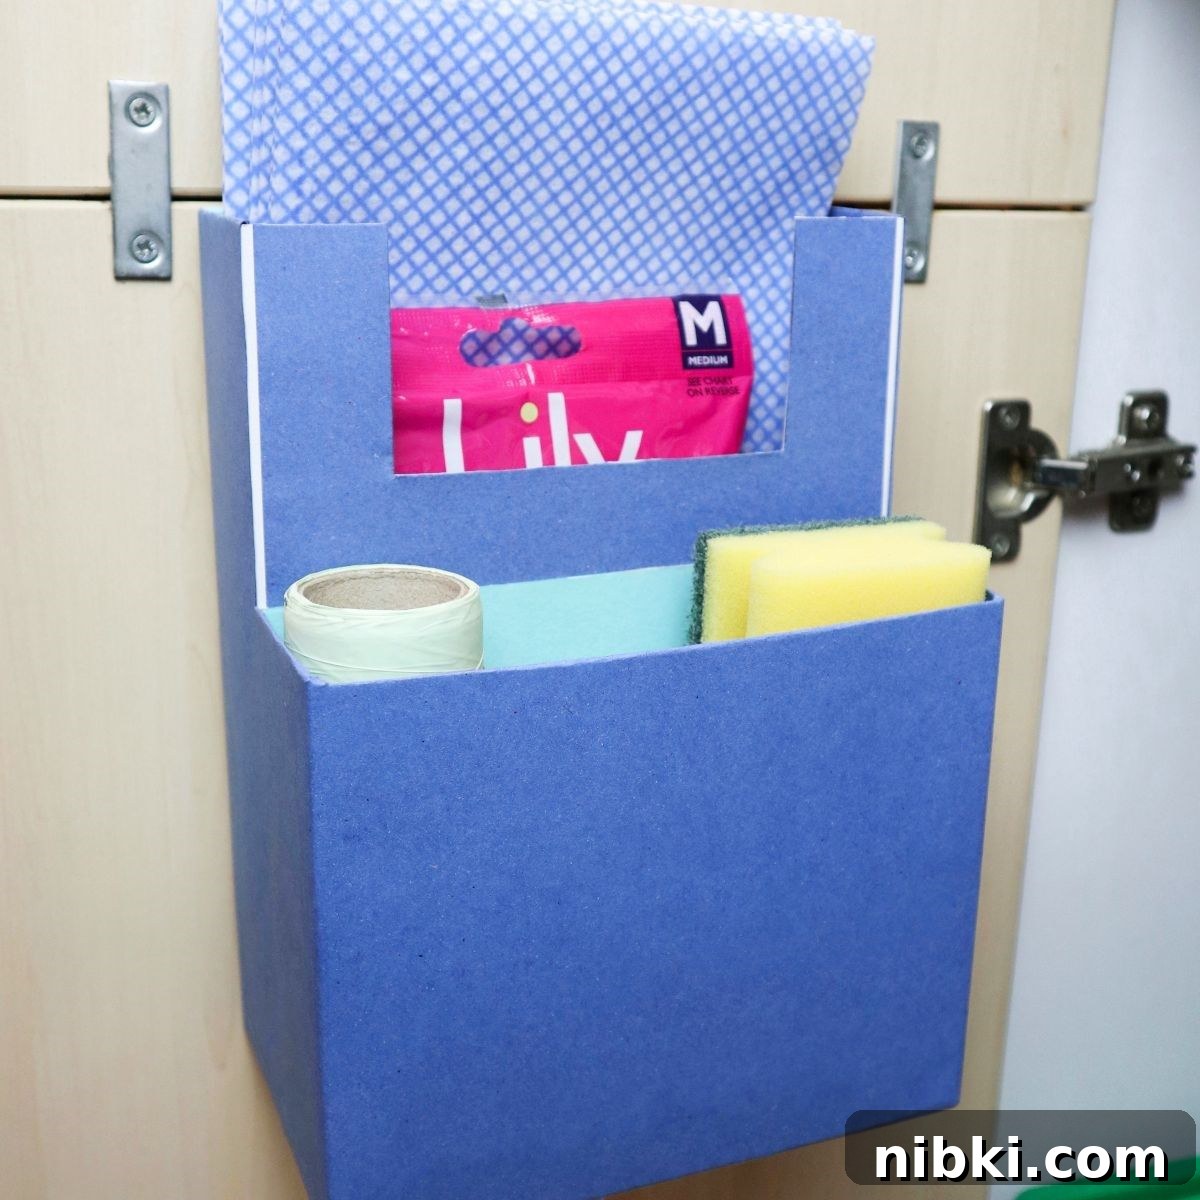
Upcycle cereal boxes to create a simple DIY cabinet organizer — an affordable way to add under-sink storage and declutter your kitchen.
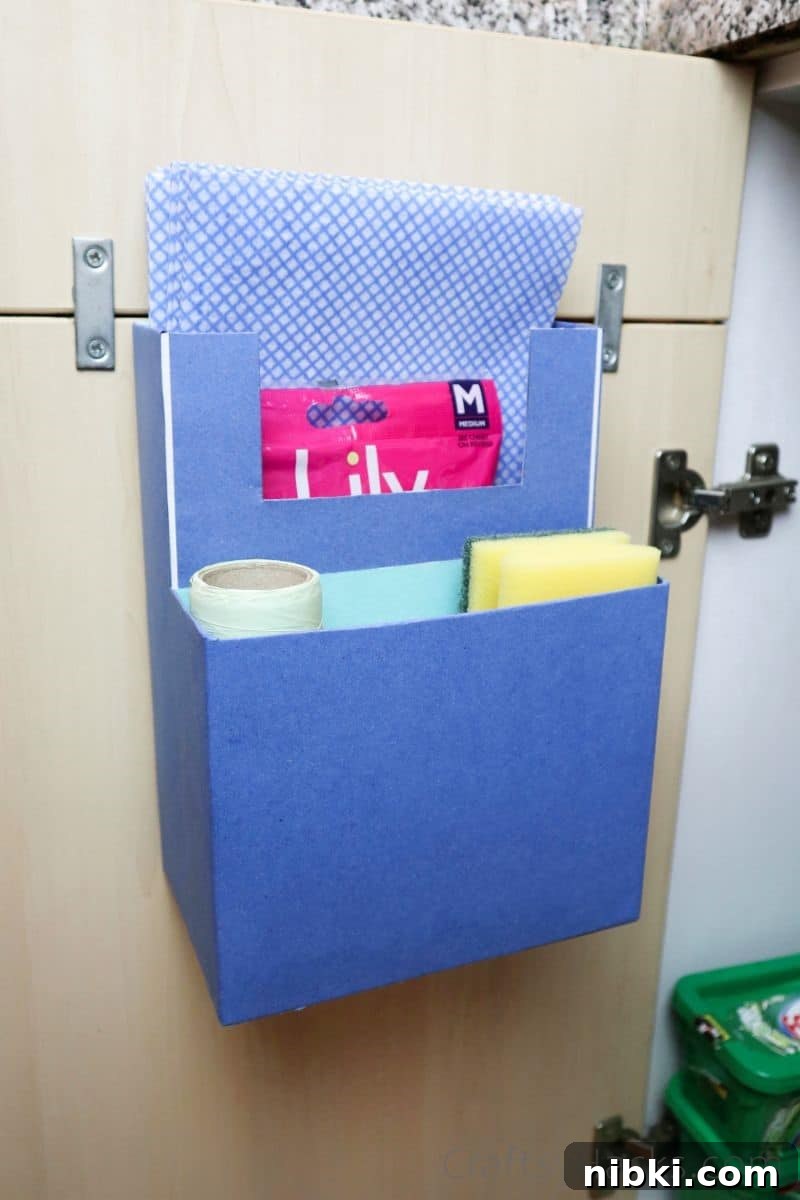
A kitchen without good storage quickly becomes frustrating, especially under the sink where cleaning supplies, sponges, and spare cloths accumulate. If your under-sink cabinet lacks shelves, you can reclaim much of that wasted space with a lightweight hanging organizer made from recycled cereal boxes. It’s fast, inexpensive, and a great small project if you want to organize without buying expensive hardware.
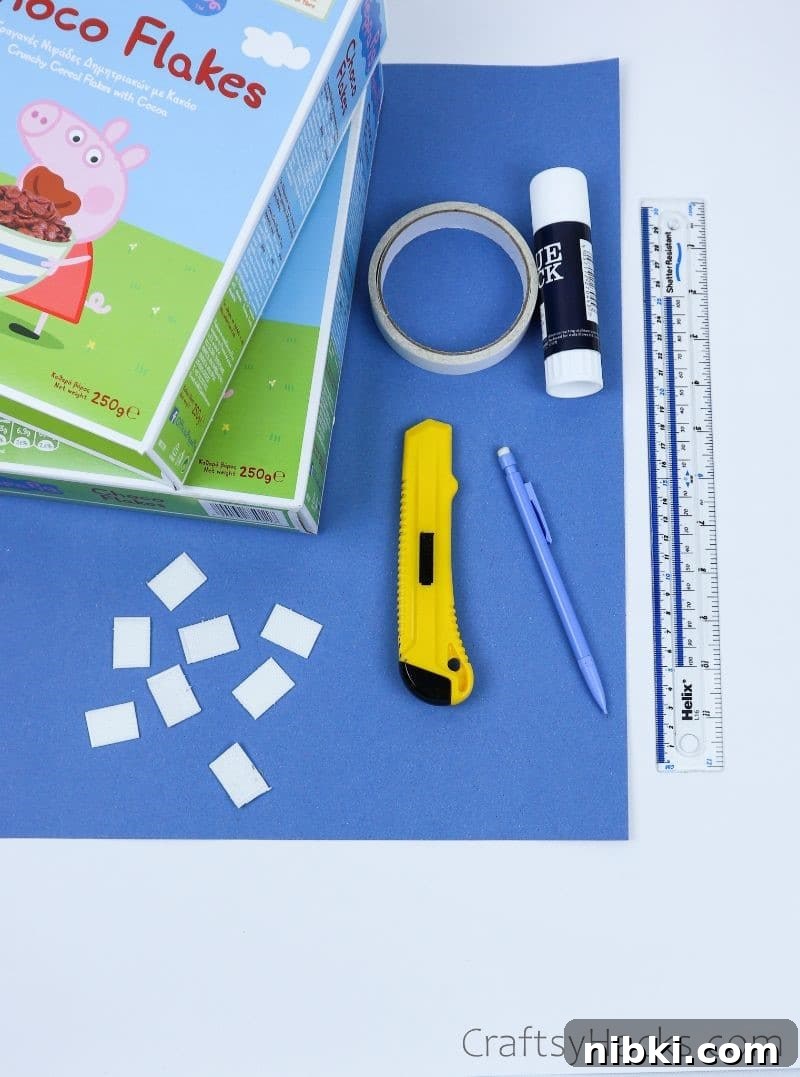
Supplies for the Organizer
- Thick paper or wrapping paper (for the exterior)
- Plain paper or contrasting paper (for the interior)
- 2 cereal boxes (one taller, one shorter)
- Double-sided tape or strong adhesive tape
- Self-adhesive Velcro strips (or another mounting option)
- Glue (PVA or craft glue)
- Ruler and pencil
- Craft knife or scissors
How to Make the Organizer
This build is straightforward: cut both cereal boxes into open-top pouches, attach the smaller one to the taller one to form a front pocket, cover both boxes with decorative paper, line the inside, then mount the finished organizer on the cabinet door using Velcro strips or another fastener. Follow these steps for a tidy, durable result.
Step 1 — Prepare your boxes
Choose two cereal boxes. One should be taller to act as the back section, and the other shorter to serve as the front pocket. If you only have same-size boxes, you can trim one shorter. Gather your ruler, pencil, and cutter.
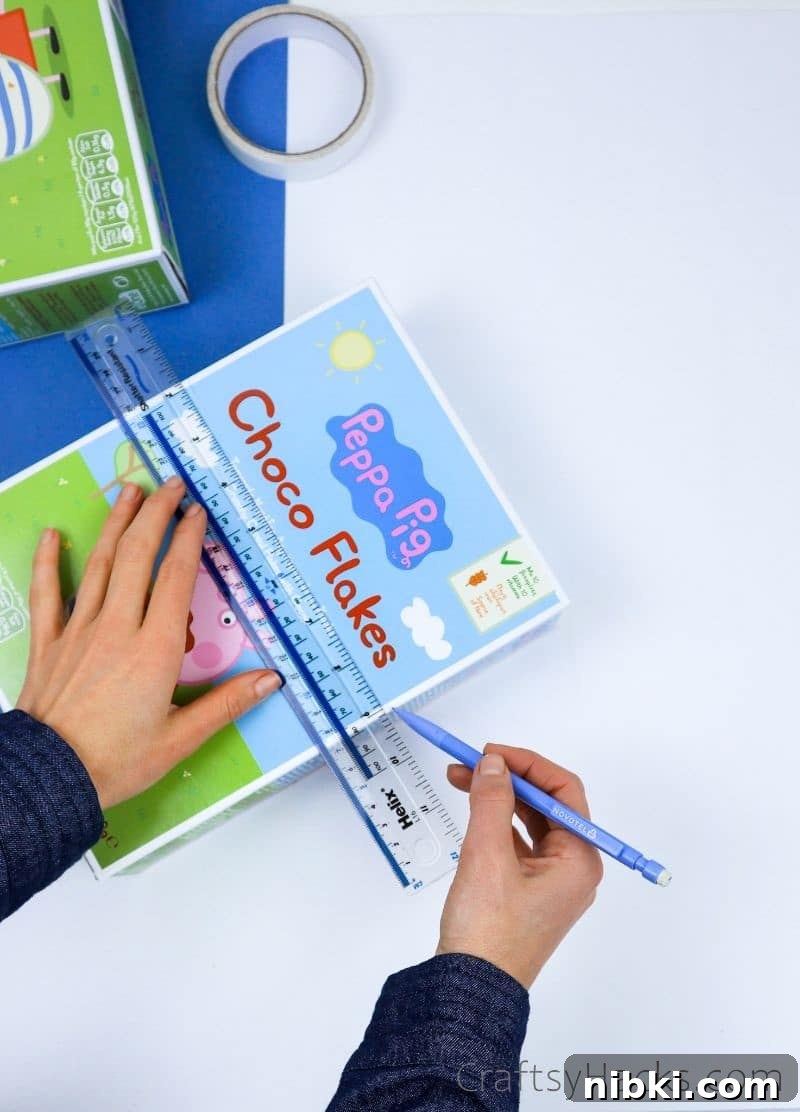
Step 2 — Mark and cut
Measure and draw a horizontal line across the shorter box to set the pocket height. For the taller box, mark a taller opening and plan a rectangular notch near the top center that will create a window or access area. Cut both boxes on three sides to leave open tops, using a craft knife for straighter edges.
Step 3 — Attach and align
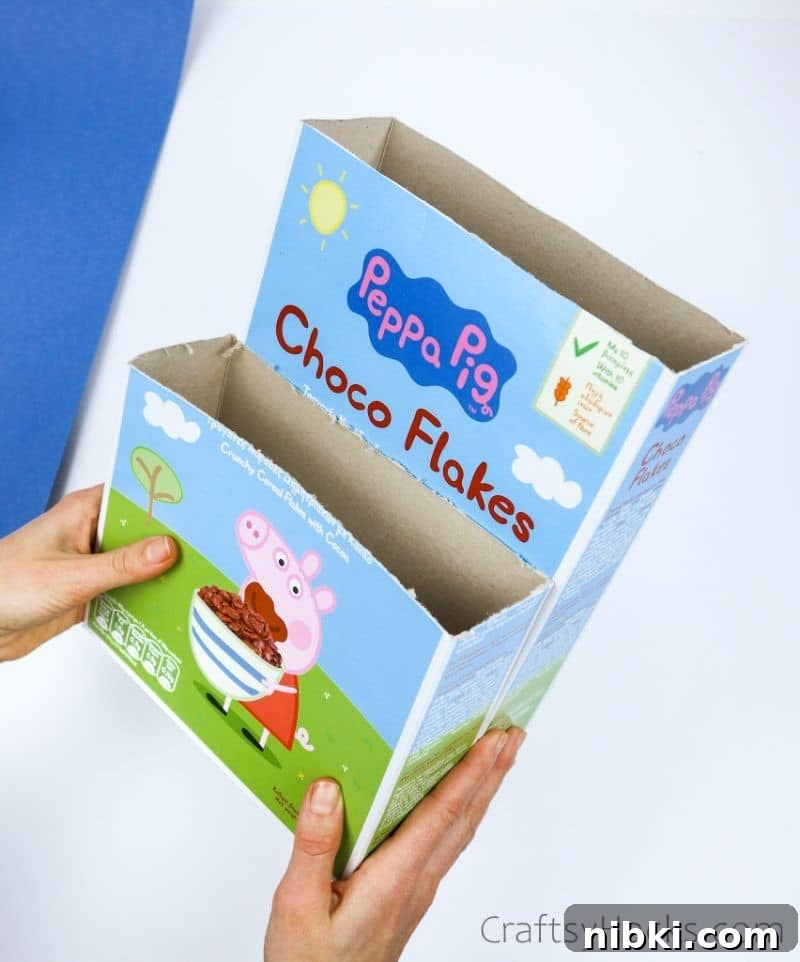
Position the smaller box against the taller one where you want the front pocket to be. Use double-sided tape or glue to mount it, keeping the edges flush so the two pieces read as a single unit. A light pencil line on the taller box helps ensure correct placement.
Step 4 — Cut the notch
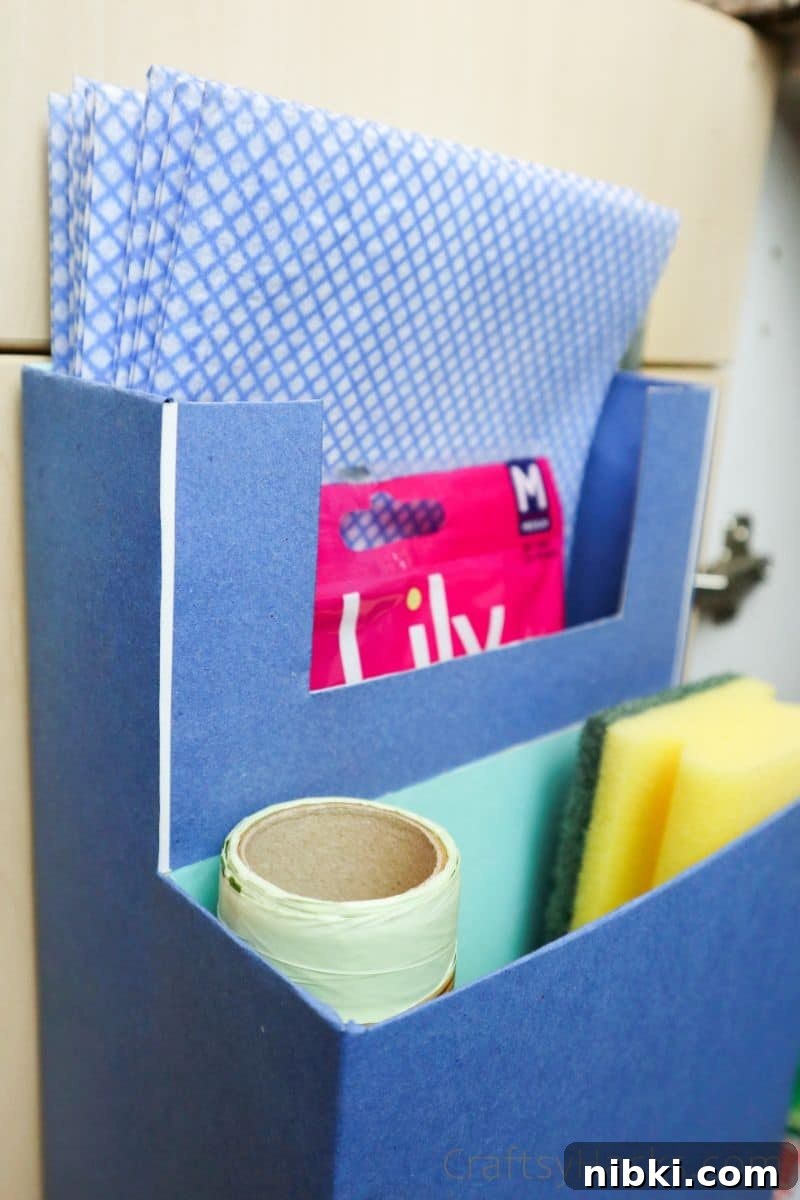
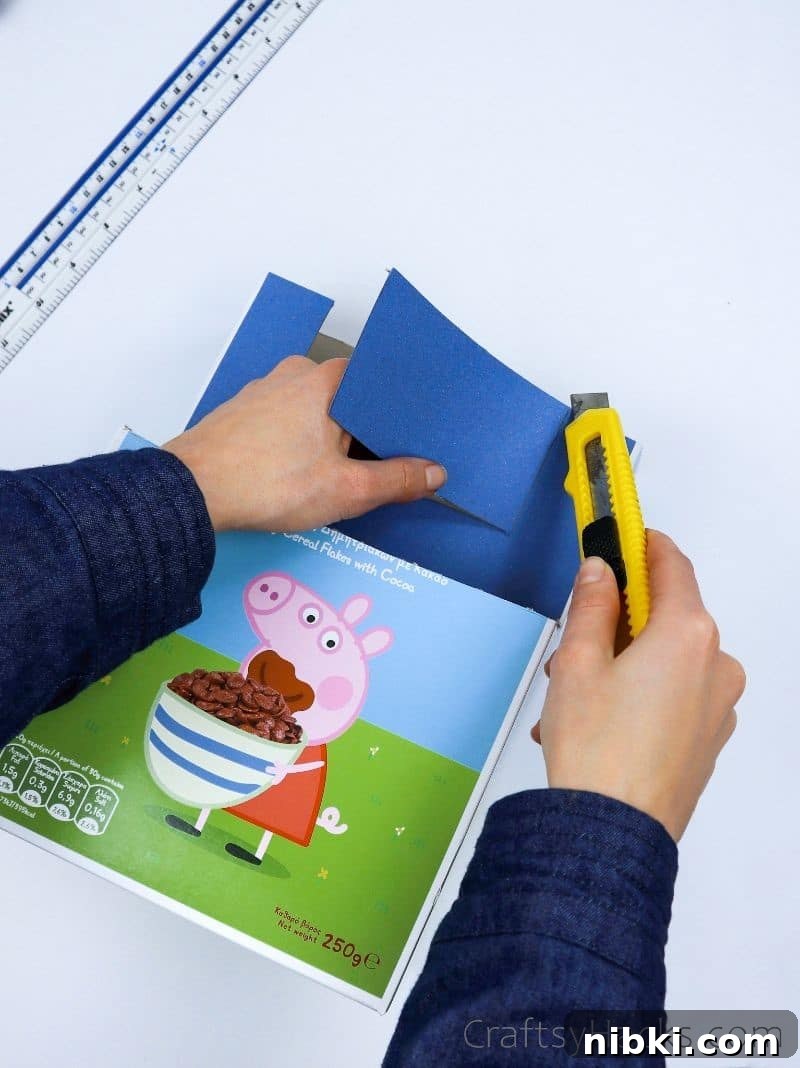
Draw a rectangle on the taller box to create a hand-access window. Cut carefully with a craft knife; rounded corners look cleaner but are optional. This opening makes it easier to reach items stored in the pocket and gives the organizer a polished look.
Step 5 — Cover and finish
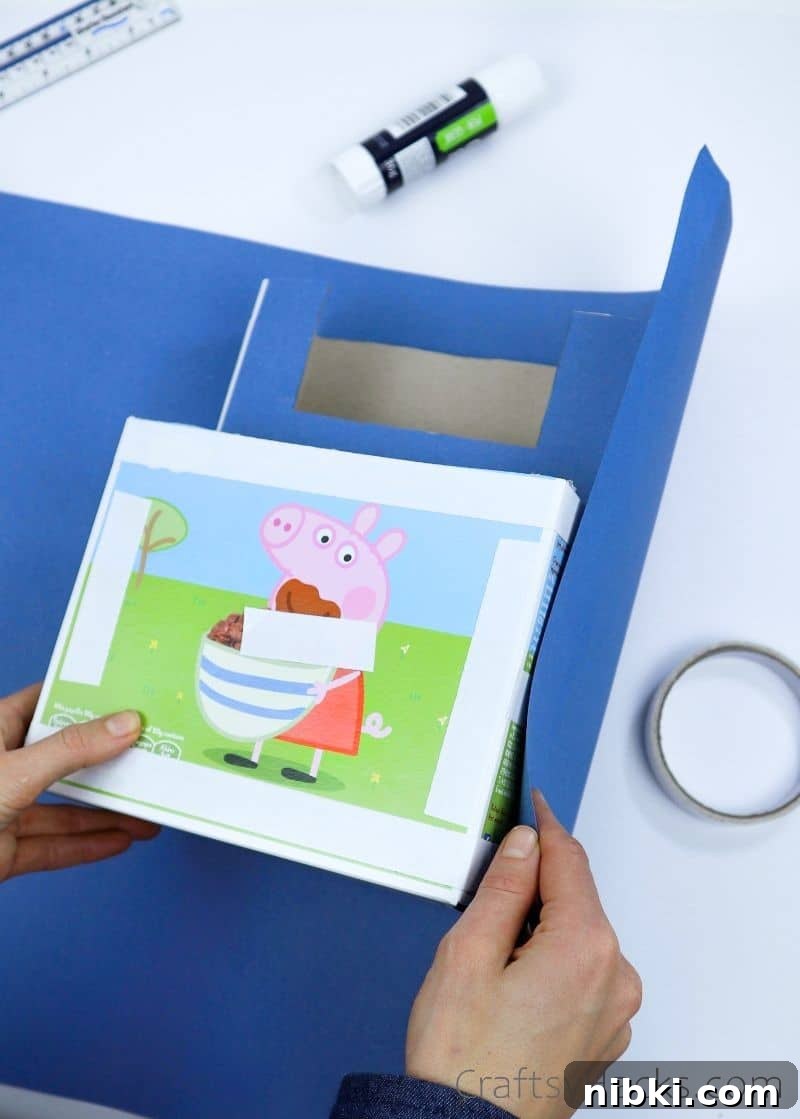
Cover the outside of both boxes with your chosen decorative paper. You can wrap a single sheet around each box or glue individual panels. Use tape along edges to keep the paper flat. Next, line the interior backs of both compartments with a lighter or contrasting paper to hide the raw cardboard and give a finished appearance.
Step 6 — Mount to the cabinet door
Use self-adhesive Velcro strips or strong double-sided mounting tape to attach the organizer to the inside of your cabinet door. Lightly trace the organizer outline with a pencil to mark placement before sticking. If you plan to store heavier items, add additional mounting strips or use a more robust mounting solution.
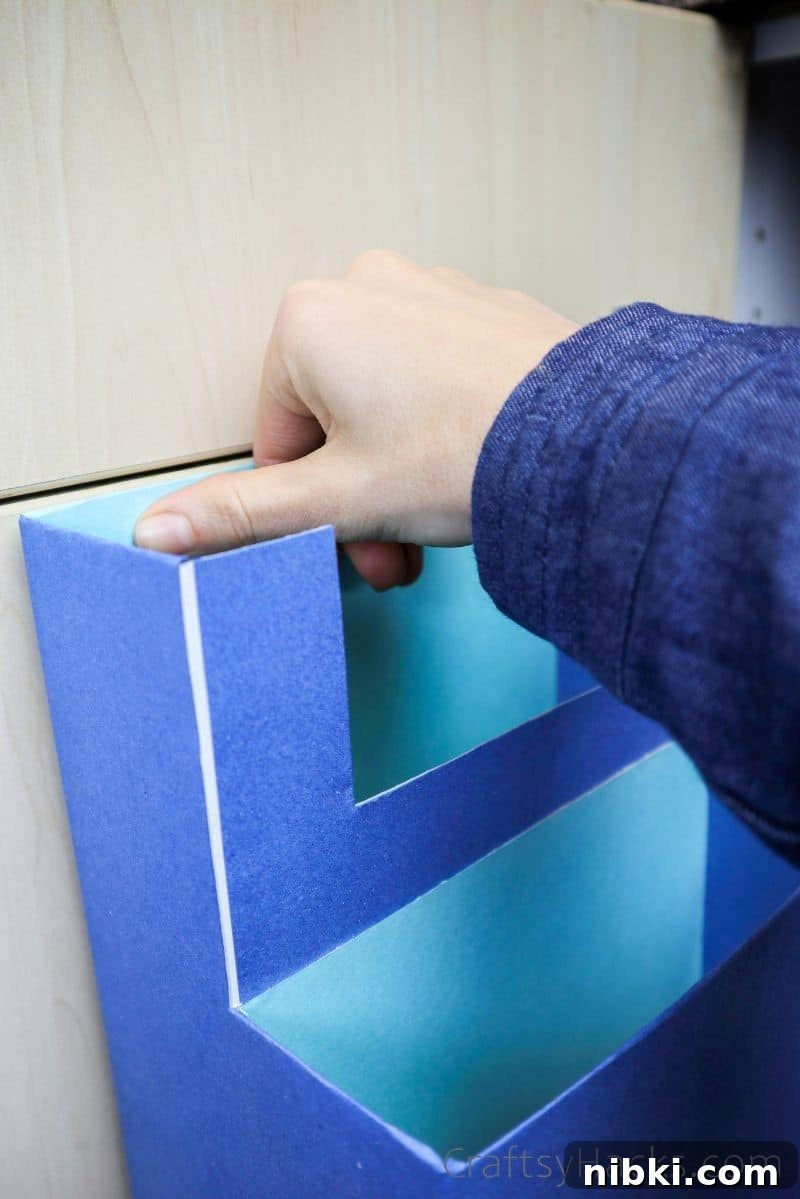
What to Store in This Under-Sink Organizer?
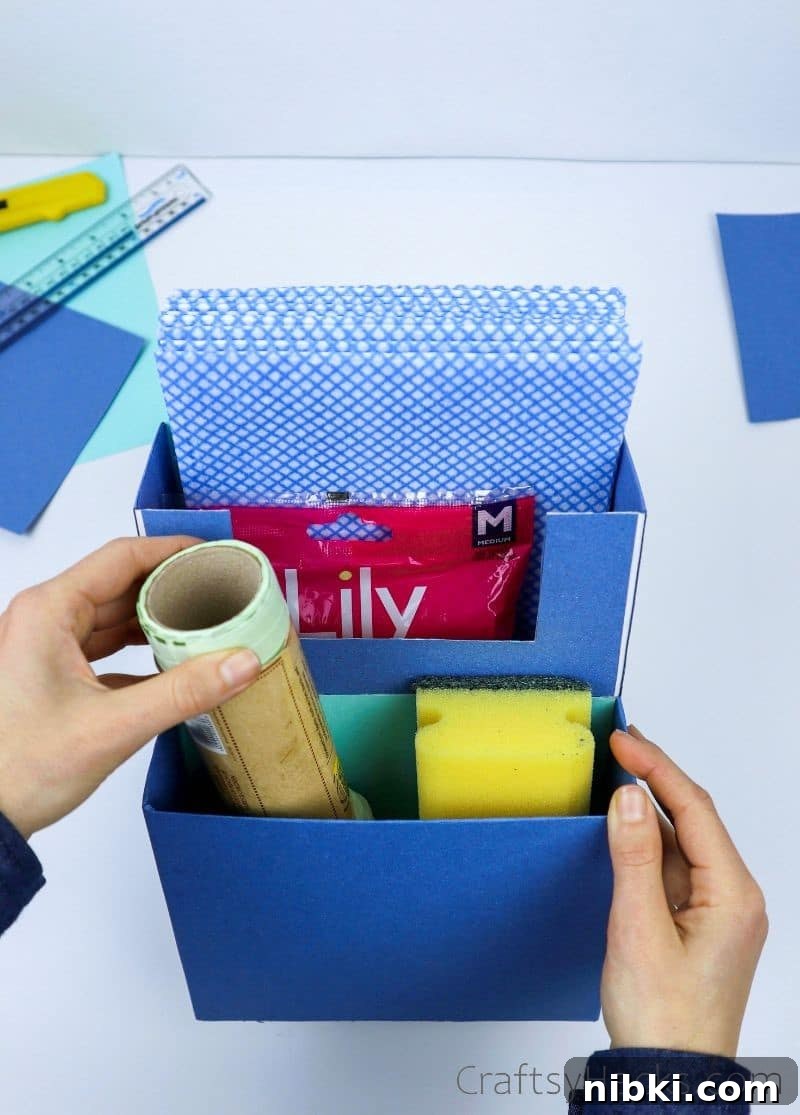
This organizer is ideal for lightweight cleaning supplies: sponges, dishrags, scrub brushes, new sponges, garbage bag rolls, and small spray bottles. If you mount a unit on a pantry or fridge door, it can hold mail, coupons, or lightweight kitchen tools. Avoid storing wet items directly in the paper-covered pockets, as moisture will weaken the cardboard over time.
Organize Cabinets Without Shelves
Under-sink areas often lack shelving, but you can create tiered storage by adding multiple upcycled organizers. Make several units for different categories — one for cleaning cloths, one for brushes and scrubbers, and another for small bottles. This approach reuses cardboard and keeps essentials visible and easy to reach without drilling or permanent fixtures.
Other DIY Organizer Ideas
- DIY drawer dividers
- Dollar-store organization hacks
- DIY desk magazine organizer
- Practical storage ideas for small spaces
- Dollar-store organizing tips for the kitchen
DIY Cabinet Organizer for Kitchen
Use old cereal boxes to make a lightweight cabinet organizer that increases storage and reuses materials. Fast to build and customizable to your cabinet size.
By: Karo @ CraftsyHacks.com
Prep: 5 mins • Active Time: 30 mins • Total: 35 mins • Yield: 1 cabinet organizer
Equipment
- Double-sided tape
- Glue
- Velcro self-adhesive strips
- Ruler
- Pencil
- Cutter or craft knife
Materials
- Thick paper or wrapping paper
- Paper for the interior lining
- 2 cereal boxes (one taller, one shorter)
Instructions
- Collect materials and choose two cereal boxes.
- Cut both boxes into open-top pouches, one shorter than the other.
- Cover the taller box with your chosen exterior paper and glue it in place.
- Mount the smaller box on the tall one using tape or adhesive, aligning edges carefully.
- Draw and cut a rectangular window in the taller box for access.
- Cover the exterior of the smaller box to match and line the interior of both compartments with contrasting paper.
- Attach Velcro strips to the back and mount the organizer inside the cabinet door. Add extra strips if you plan to hold heavier items.
This quick craft transforms trash into useful storage while making the under-sink area more functional and pleasant to use.